
If you own a Weber grill, you know how important it is to keep your cast iron grill grates in top shape. Seasoning your grates not only prevents rust but also creates a natural, non-stick surface that makes cooking easier and your food tastier.
But how do you get that perfect seasoning every time? You’ll learn simple, step-by-step tips to season your cast iron grill grates like a pro. By the end, you’ll be ready to enjoy better grilling and longer-lasting equipment. Let’s get started!

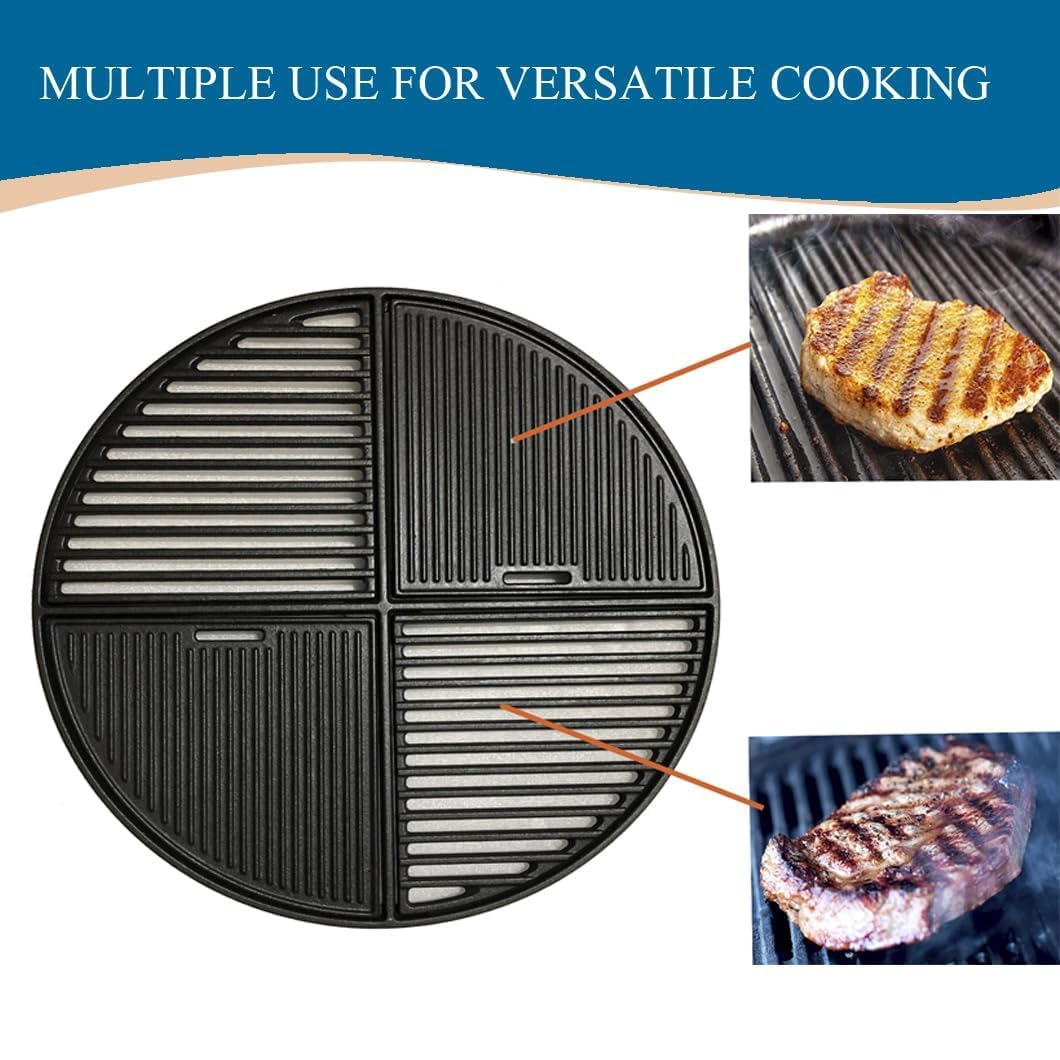
Credit: www.amazon.com
Benefits Of Seasoning Cast Iron Grill Grates
Seasoning your cast iron grill grates transforms them from just another cooking tool into a powerful ally for your grilling adventures. It’s not just about making the grates look good; seasoning enhances their performance and longevity. If you’ve ever struggled with food sticking or cleaning a rusty grate, seasoning is the game changer you need.
Improved Non-stick Surface
Seasoning creates a natural, non-stick coating on your cast iron grill grates. This means your steaks, veggies, and fish slide off easily without tearing or sticking. Have you noticed how tough it is to flip a burger on unseasoned grates? Seasoning solves that problem, making grilling smoother and more enjoyable.
Prevention Of Rust And Corrosion
Cast iron is prone to rust if left bare, especially after exposure to moisture. Seasoning forms a protective layer that seals the surface, keeping rust at bay. Think of it as a shield that protects your investment, extending the life of your grill grates significantly.
Enhanced Flavor Development
Seasoned cast iron grill grates add subtle, smoky flavors to your food. The oils used during seasoning develop over time, creating layers of flavor that enrich your grilling results. Ever tasted that distinct grilled flavor that’s hard to replicate? Seasoning helps you capture that every time.
Ease Of Cleaning
Cleaning seasoned grates becomes much easier because food residue doesn’t stick stubbornly. You can often wipe them clean with a brush or cloth after cooking, saving time and effort. Isn’t it nice to spend more time enjoying your meal rather than scrubbing grates?
Cost-effective Maintenance
Regular seasoning means you won’t need to replace your cast iron grill grates as often. It’s a simple, low-cost routine that prevents expensive damage. Investing a few minutes in seasoning can save you significant money and frustration down the line.
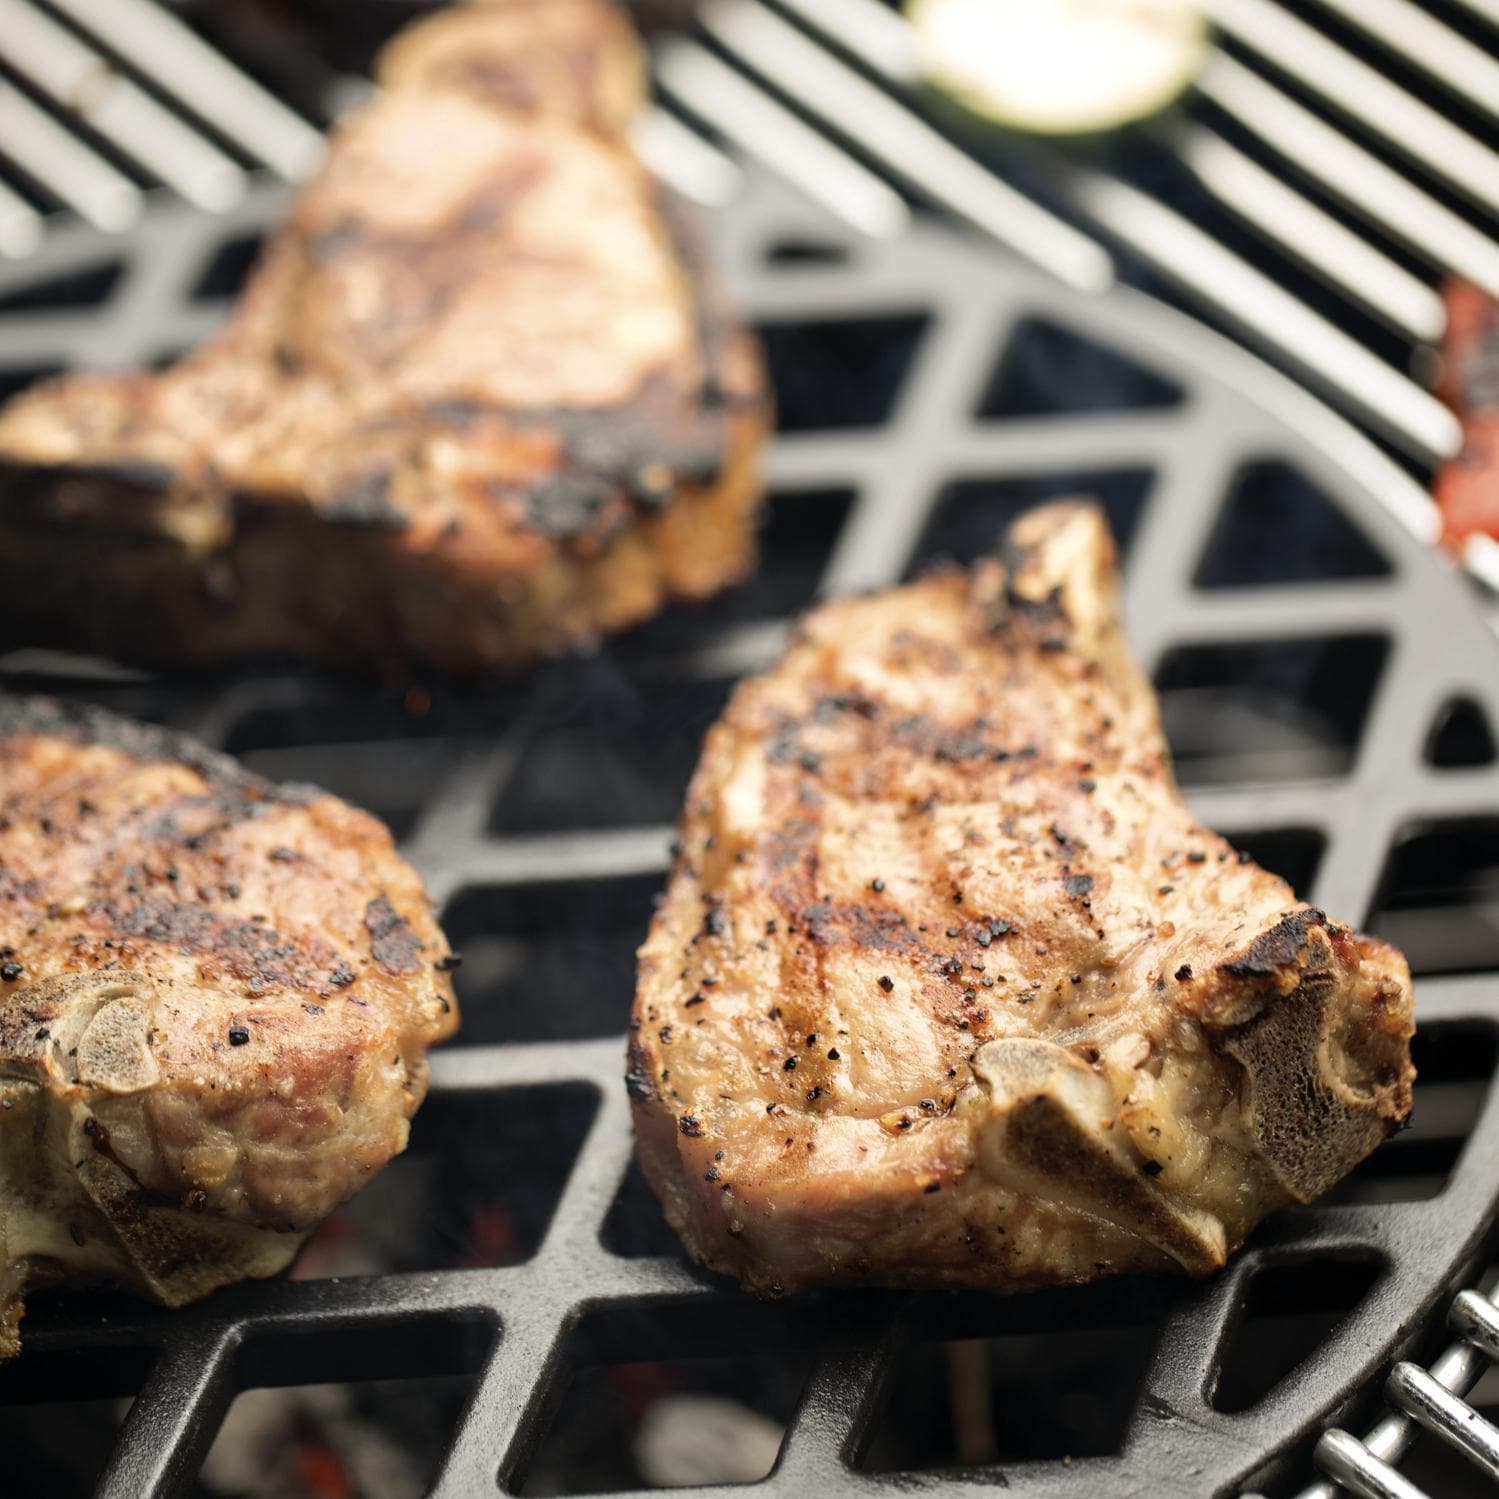
Credit: www.amazon.com
Choosing The Right Oil For Seasoning
Choosing the right oil for seasoning cast iron grill grates is important for a lasting, non-stick surface. The oil should have a high smoke point to prevent burning during heating. It should also polymerize well, creating a smooth, durable coating on the grates.
Some oils work better than others because of their fat composition and heat tolerance. Selecting the right oil ensures your Weber grill grates stay protected and easy to clean.
Vegetable Oils
Vegetable oils are a popular choice for seasoning cast iron. They come from plants and usually have a high smoke point. Common options include:
- Canola oil – light flavor and smoke point around 400°F
- Sunflower oil – mild taste, smoke point near 440°F
- Safflower oil – neutral flavor, smoke point about 450°F
- Corn oil – affordable and good smoke point
These oils dry and form a good seasoning layer. They are easy to find and cost-effective. Their mild flavor won’t affect the taste of your food.
Animal-based Fats
Animal fats are another option for seasoning. They come from animals and have a different fat structure. Popular animal fats include:
- Lard – traditional choice, rich in saturated fats
- Tallow – beef fat, very stable at high heat
- Bacon grease – adds a smoky flavor but less pure
Animal fats can create a hard, durable coating. They often add a subtle flavor to the grill grates. These fats may require more frequent reapplication.
Cleaning The Grill Grates
Cleaning the grill grates is essential for seasoning cast iron properly. Clean grates hold the seasoning better and last longer. Dirt, old food, and rust can stop the seasoning process. Removing these residues prepares the grates for a smooth, even coating of oil. Careful cleaning also prevents food from sticking during future grilling sessions.
Removing Residue
Start by brushing off loose debris with a stiff wire brush. Use hot water and mild soap for tougher grime. Avoid harsh chemicals that can damage the cast iron. For stubborn rust or stuck-on food, scrub with coarse salt and a damp cloth. Rinse the grates thoroughly to remove all cleaning agents. Make sure no residue remains before moving to drying.
Drying Techniques
Dry the grates immediately after washing to stop rust. Use a clean towel to wipe off all moisture. Place the grates on a warm grill or in an oven at low heat to dry completely. Heat helps evaporate hidden water in the pores of the cast iron. Well-dried grates keep the seasoning oil from washing away. Proper drying protects your grill and keeps it ready for seasoning.
Step-by-step Seasoning Process
Seasoning cast iron grill grates is key to a long-lasting, non-stick surface. The process forms a protective layer that prevents rust and improves cooking. Follow these clear steps to season your Weber grill grates correctly.
Applying Oil Evenly
Start with clean, dry grill grates. Use a cloth or paper towel to spread a thin layer of cooking oil. Choose oils with a high smoke point, like vegetable or flaxseed oil. Cover every surface, including corners and edges. Avoid thick coats, which can cause sticky buildup.
Heating The Grates
Preheat your Weber grill to a medium-high temperature. Place the oiled grates on the grill and close the lid. Let the heat bake the oil into the metal. This process takes about 45 minutes to an hour. The oil will start to polymerize, creating the seasoning layer.
Cooling And Repeating
Turn off the grill and allow the grates to cool completely. Wipe off any excess oil that did not bond to the surface. Repeat the oil application and heating steps two to three times. Multiple layers build a stronger, more durable seasoning.
Maintaining Seasoned Grill Grates
Maintaining seasoned grill grates keeps your Weber cast iron grates in top shape. Proper care extends their life and improves cooking results. Regular attention prevents rust and food sticking. It also keeps the seasoning layer strong and smooth.
Regular Cleaning
Clean grill grates after every use while still warm. Use a grill brush with stiff bristles to remove food bits. Avoid soap or harsh detergents as they strip seasoning. Instead, use hot water and a sponge for stuck-on residue. Dry the grates completely to stop rust formation.
Re-seasoning Tips
Re-season grates when food starts to stick or rust appears. Apply a thin layer of cooking oil, such as vegetable or flaxseed oil. Use a cloth or paper towel to spread oil evenly. Heat the grill to a high temperature for about an hour. This process creates a strong, non-stick coating. Repeat re-seasoning every few months or after deep cleaning for best results.
Credit: www.bbqguys.com
Common Mistakes To Avoid
Seasoning cast iron grill grates is key for great cooking and long life. Avoiding common mistakes ensures the seasoning lasts longer and works better. Two major errors can spoil the process and cause frustration.
Over-oiling
Adding too much oil creates sticky, uneven layers. Excess oil does not soak into the metal properly. It leaves a thick, gummy surface that can peel off. Use just a thin, even coat of oil. Wipe off any extra oil with a clean cloth. This helps the seasoning cure well and prevents flaking.
Skipping The Heating Step
Heating is essential to bond oil and metal. Without proper heat, the oil won’t polymerize and form a hard layer. Always preheat the grill grates before applying oil. After coating, heat the grates again to bake the oil in. This step seals the seasoning and makes it durable. Skipping heating results in weak, patchy seasoning.
Expert Tips For Longevity
Seasoning your Weber cast iron grill grates is just the beginning. To keep them performing well and looking great, you need to pay attention to how you store and maintain them over time. These expert tips will help you extend the life of your grill grates and ensure every cookout feels like the first.
Proper Storage
After seasoning and using your grill grates, storing them correctly is crucial. Avoid leaving them exposed to moisture or outdoor elements, as this encourages rust.
Keep your grates in a dry place, ideally indoors or under a covered grill. If you store them outside, use a grill cover that fits tightly to block rain and humidity.
Before storage, wipe the grates with a light layer of cooking oil. This simple step creates a protective barrier against moisture and keeps the seasoning intact.
Handling Rust Issues
Rust can appear even with careful maintenance, but it doesn’t mean your grates are ruined. The key is catching it early and acting quickly.
If you spot rust, scrub it gently with a grill brush or steel wool. After removing rust, reseason the affected area by applying oil and heating the grates on the grill.
Sometimes rust forms because of trapped moisture. Do you let your grill cool down slowly or leave it closed right after cooking? Try opening the lid to air dry before storing.
Frequently Asked Questions
How Often Should I Season Weber Cast Iron Grill Grates?
Season Weber cast iron grill grates every 3-4 uses or after heavy cleaning. Regular seasoning prevents rust and maintains a non-stick surface, ensuring better cooking results.
What Oil Is Best For Seasoning Cast Iron Grill Grates?
Use high smoke point oils like vegetable, flaxseed, or canola oil. These oils create a durable, non-stick coating and withstand high grilling temperatures without burning.
Can I Season Cast Iron Grill Grates In The Oven?
Yes, you can season grill grates in the oven. Coat grates with oil, bake at 400°F for an hour, then cool. This method ensures even seasoning and long-lasting protection.
How Do I Clean Weber Cast Iron Grill Grates Before Seasoning?
Clean grates using a grill brush to remove residue. Wash with warm soapy water if needed, then dry thoroughly to prevent rust before applying oil for seasoning.
Conclusion
Seasoning cast iron grill grates keeps them strong and rust-free. It also improves cooking by creating a natural non-stick surface. Clean the grates well before starting. Use oil with a high smoke point for best results. Heat the grates evenly to lock in the seasoning.
Regular care extends the life of your Weber grill. Enjoy better flavor and easier cleaning every time you grill. Try seasoning often to keep your grill ready for great meals. Simple steps make a big difference in grilling success.