
Are you tired of struggling to move your BBQ cabinet around your patio? Adding wheels can make your outdoor cooking space much more flexible and convenient.
But how do you install wheels on your BBQ cabinet without making a mess or wasting time? You’ll find a simple, step-by-step guide that anyone can follow. By the end, you’ll have a smooth-rolling BBQ cabinet that moves exactly when and where you want it.
Keep reading to discover the easy tricks that will save you effort and make your outdoor setup more enjoyable!
Tools And Materials Needed
Installing wheels on your BBQ cabinet makes it easier to move and clean around. Getting the right tools and materials helps the job go smoothly. Prepare everything before starting. It saves time and avoids frustration.
Types Of Wheels
- Swivel Casters:These wheels rotate 360 degrees for easy steering.
- Fixed Casters:Wheels that only roll forward and backward.
- Locking Wheels:Casters with brakes to keep the cabinet in place.
- Heavy-Duty Wheels:Designed to hold more weight and handle rough surfaces.
Required Tools
- Drill with drill bits
- Screwdriver or power driver
- Measuring tape
- Wrench or socket set
- Marker or pencil
- Level
- Wheels and mounting hardware (bolts, screws, nuts)
Safety Gear
- Protective gloves to avoid cuts and scrapes
- Safety glasses to protect eyes from dust and debris
- Closed-toe shoes for foot protection
- Hearing protection if using loud power tools
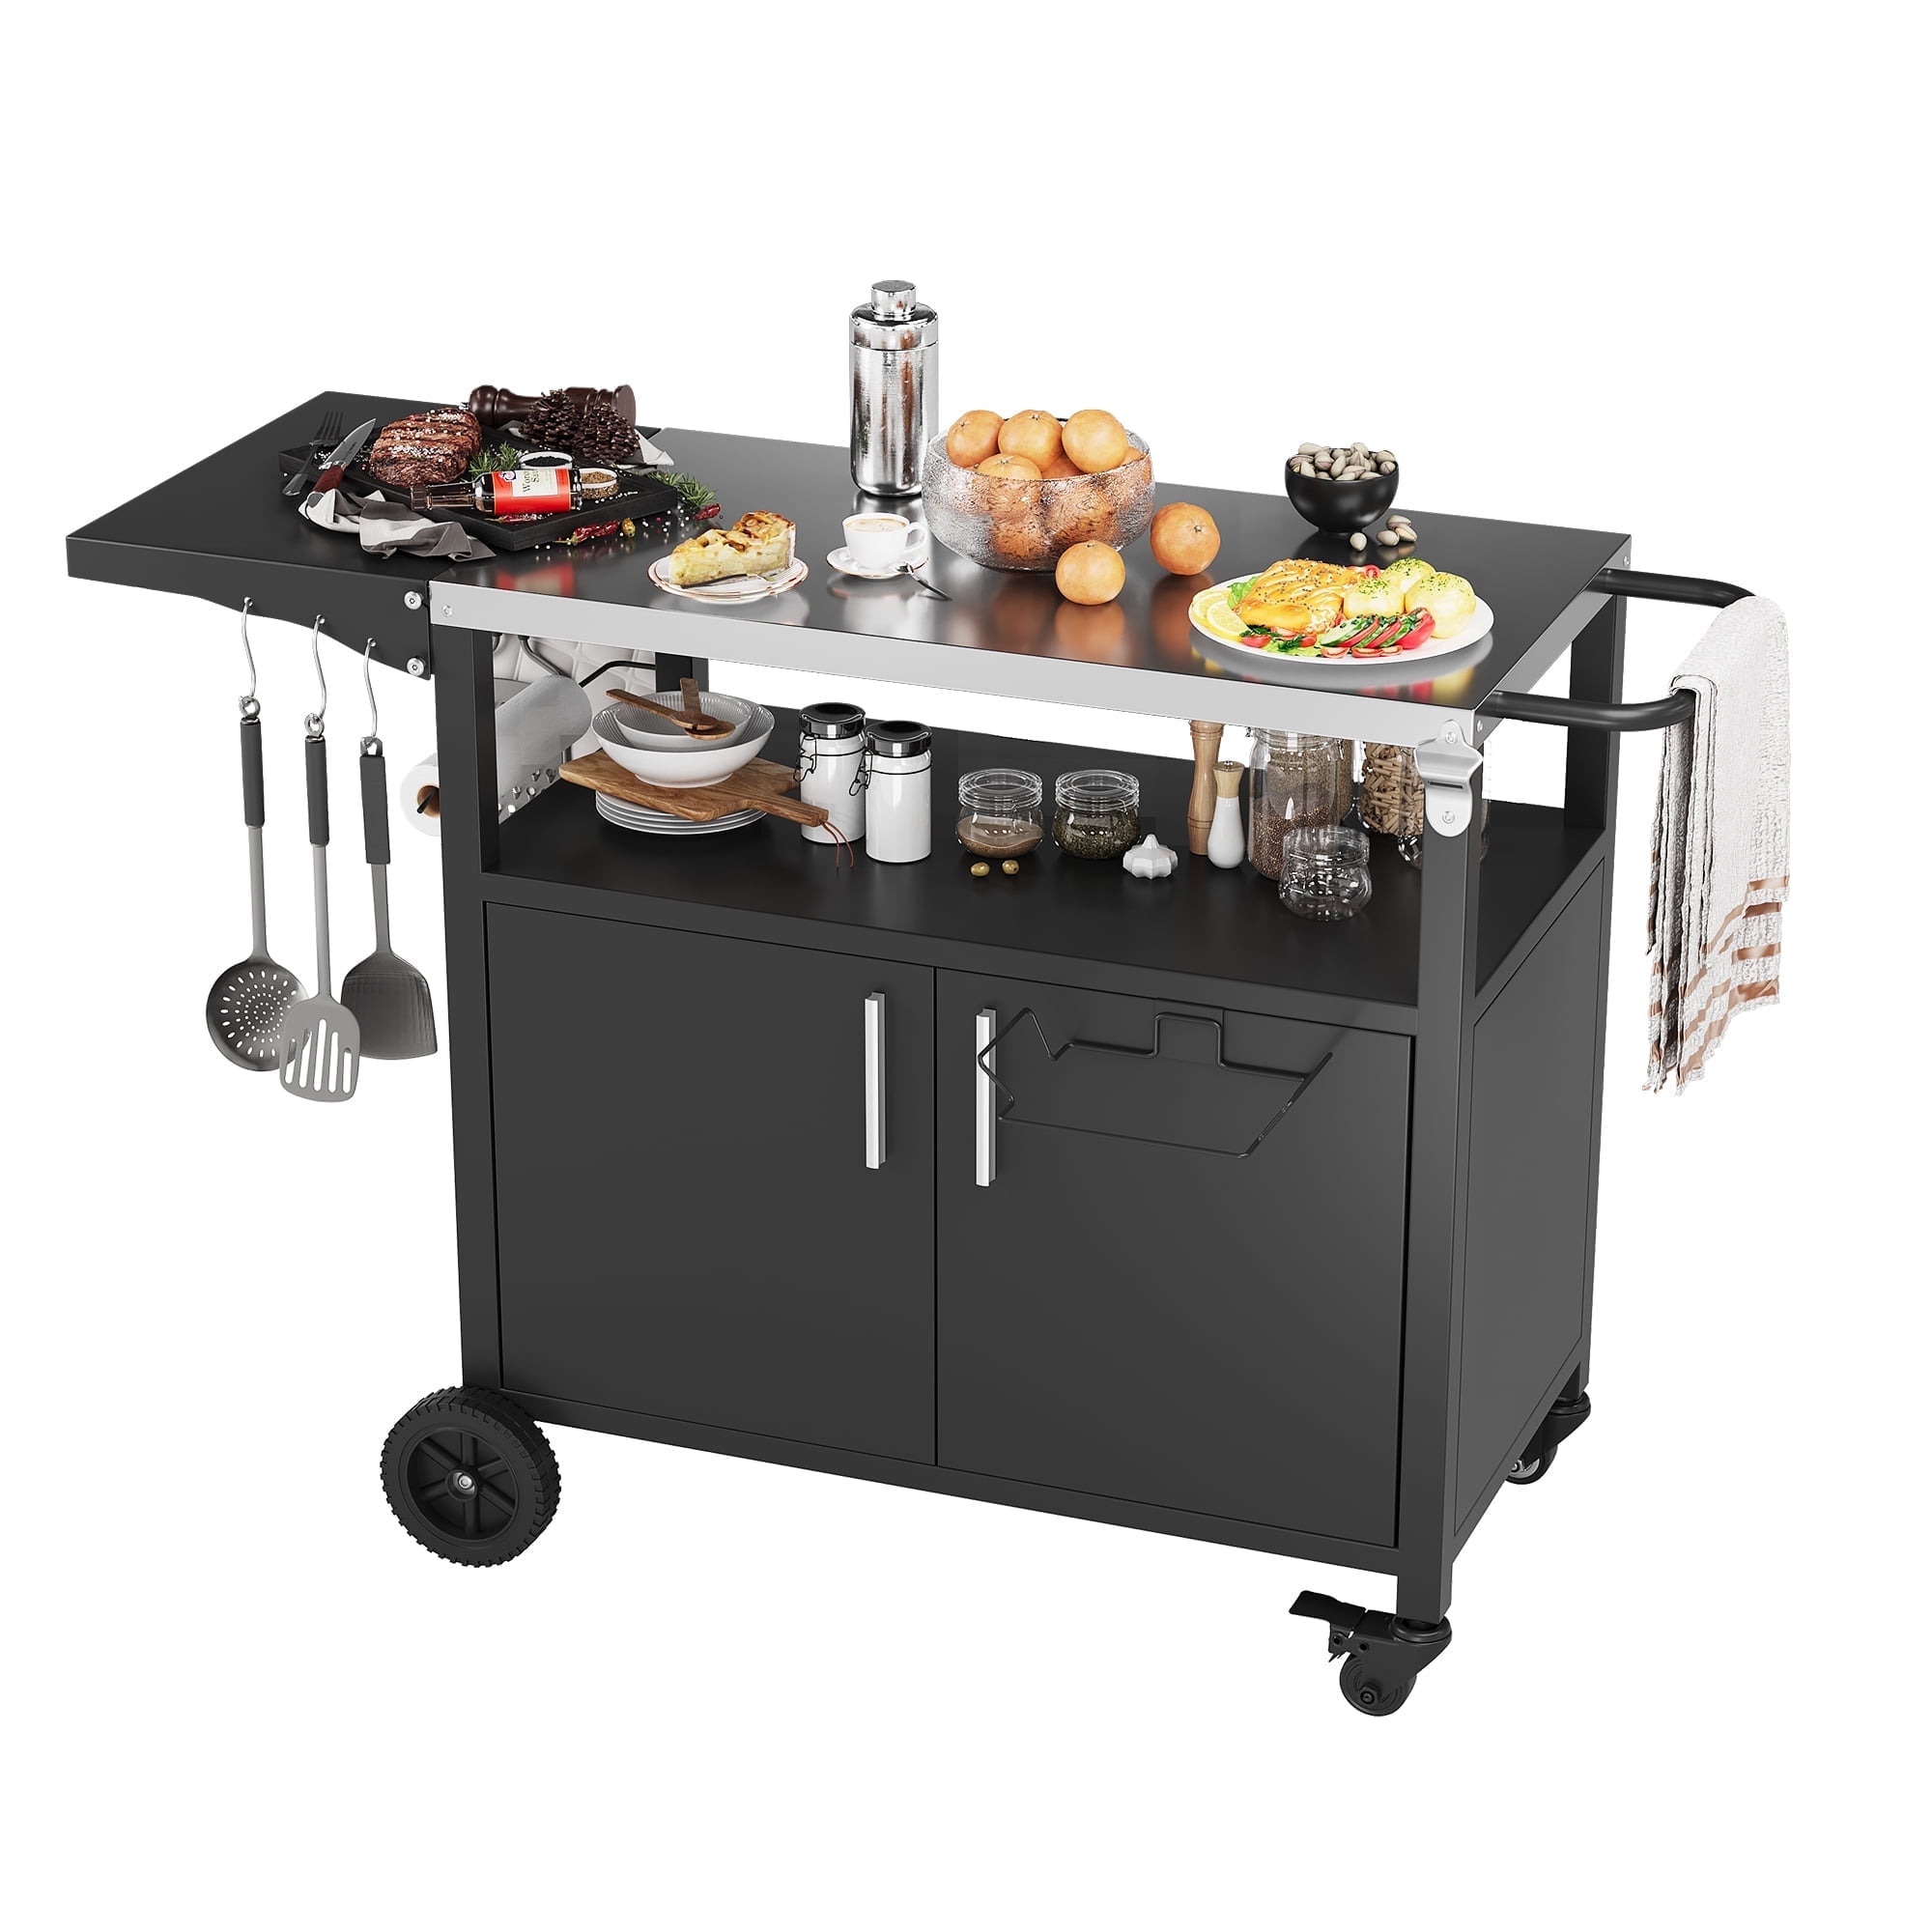
Credit: www.walmart.com
Preparing The Bbq Cabinet
Preparing your BBQ cabinet before installing wheels is crucial for a smooth and secure attachment. Taking the time to get your cabinet ready not only makes the installation easier but also ensures the wheels last longer and perform better. Let’s break down the key steps you should focus on to prepare your BBQ cabinet properly.
Cleaning The Surface
Start by thoroughly cleaning the bottom of your BBQ cabinet. Dirt, grease, and rust can interfere with wheel attachment and reduce stability.
Use a degreaser or soapy water and a scrub brush to remove all grime. After cleaning, dry the surface completely to prevent rust from forming under the wheels.
Locating Mounting Points
Next, identify where you will attach the wheels. Most BBQ cabinets have structural supports or pre-drilled holes specifically designed for wheel mounting.
If you can’t find obvious spots, look for sturdy frame sections that can support the weight. Avoid thin sheet metal areas that won’t hold screws well.
Measuring And Marking
Take precise measurements to ensure the wheels are evenly spaced and aligned. Uneven placement can cause wobbling or difficulty moving your BBQ.
Use a pencil or masking tape to mark the exact spots where you’ll drill holes. Double-check your marks by measuring diagonally to confirm they are square and balanced.
Removing Old Wheels
Removing old wheels from a BBQ cabinet prepares it for new, smooth-rolling replacements. This task makes your cabinet easier to move and keeps it stable. The process involves detaching the wheels and dealing with screws or bolts that may be tight or rusty. Taking time here ensures a clean fit for the new wheels.
Detaching Existing Wheels
Start by turning the BBQ cabinet on its side or lifting it slightly. This gives clear access to the wheels. Use a wrench or screwdriver to remove the screws or bolts holding the wheels. Keep the cabinet steady to avoid accidents. Place the screws or bolts in a container to avoid losing them.
Handling Stubborn Screws Or Bolts
Rust or dirt can make screws hard to remove. Spray a lubricant like WD-40 on the screws to loosen them. Let it sit for a few minutes. Use a screwdriver or wrench with a good grip for extra force. Tap the tool gently with a hammer if needed. Avoid stripping the screw heads by applying steady pressure.

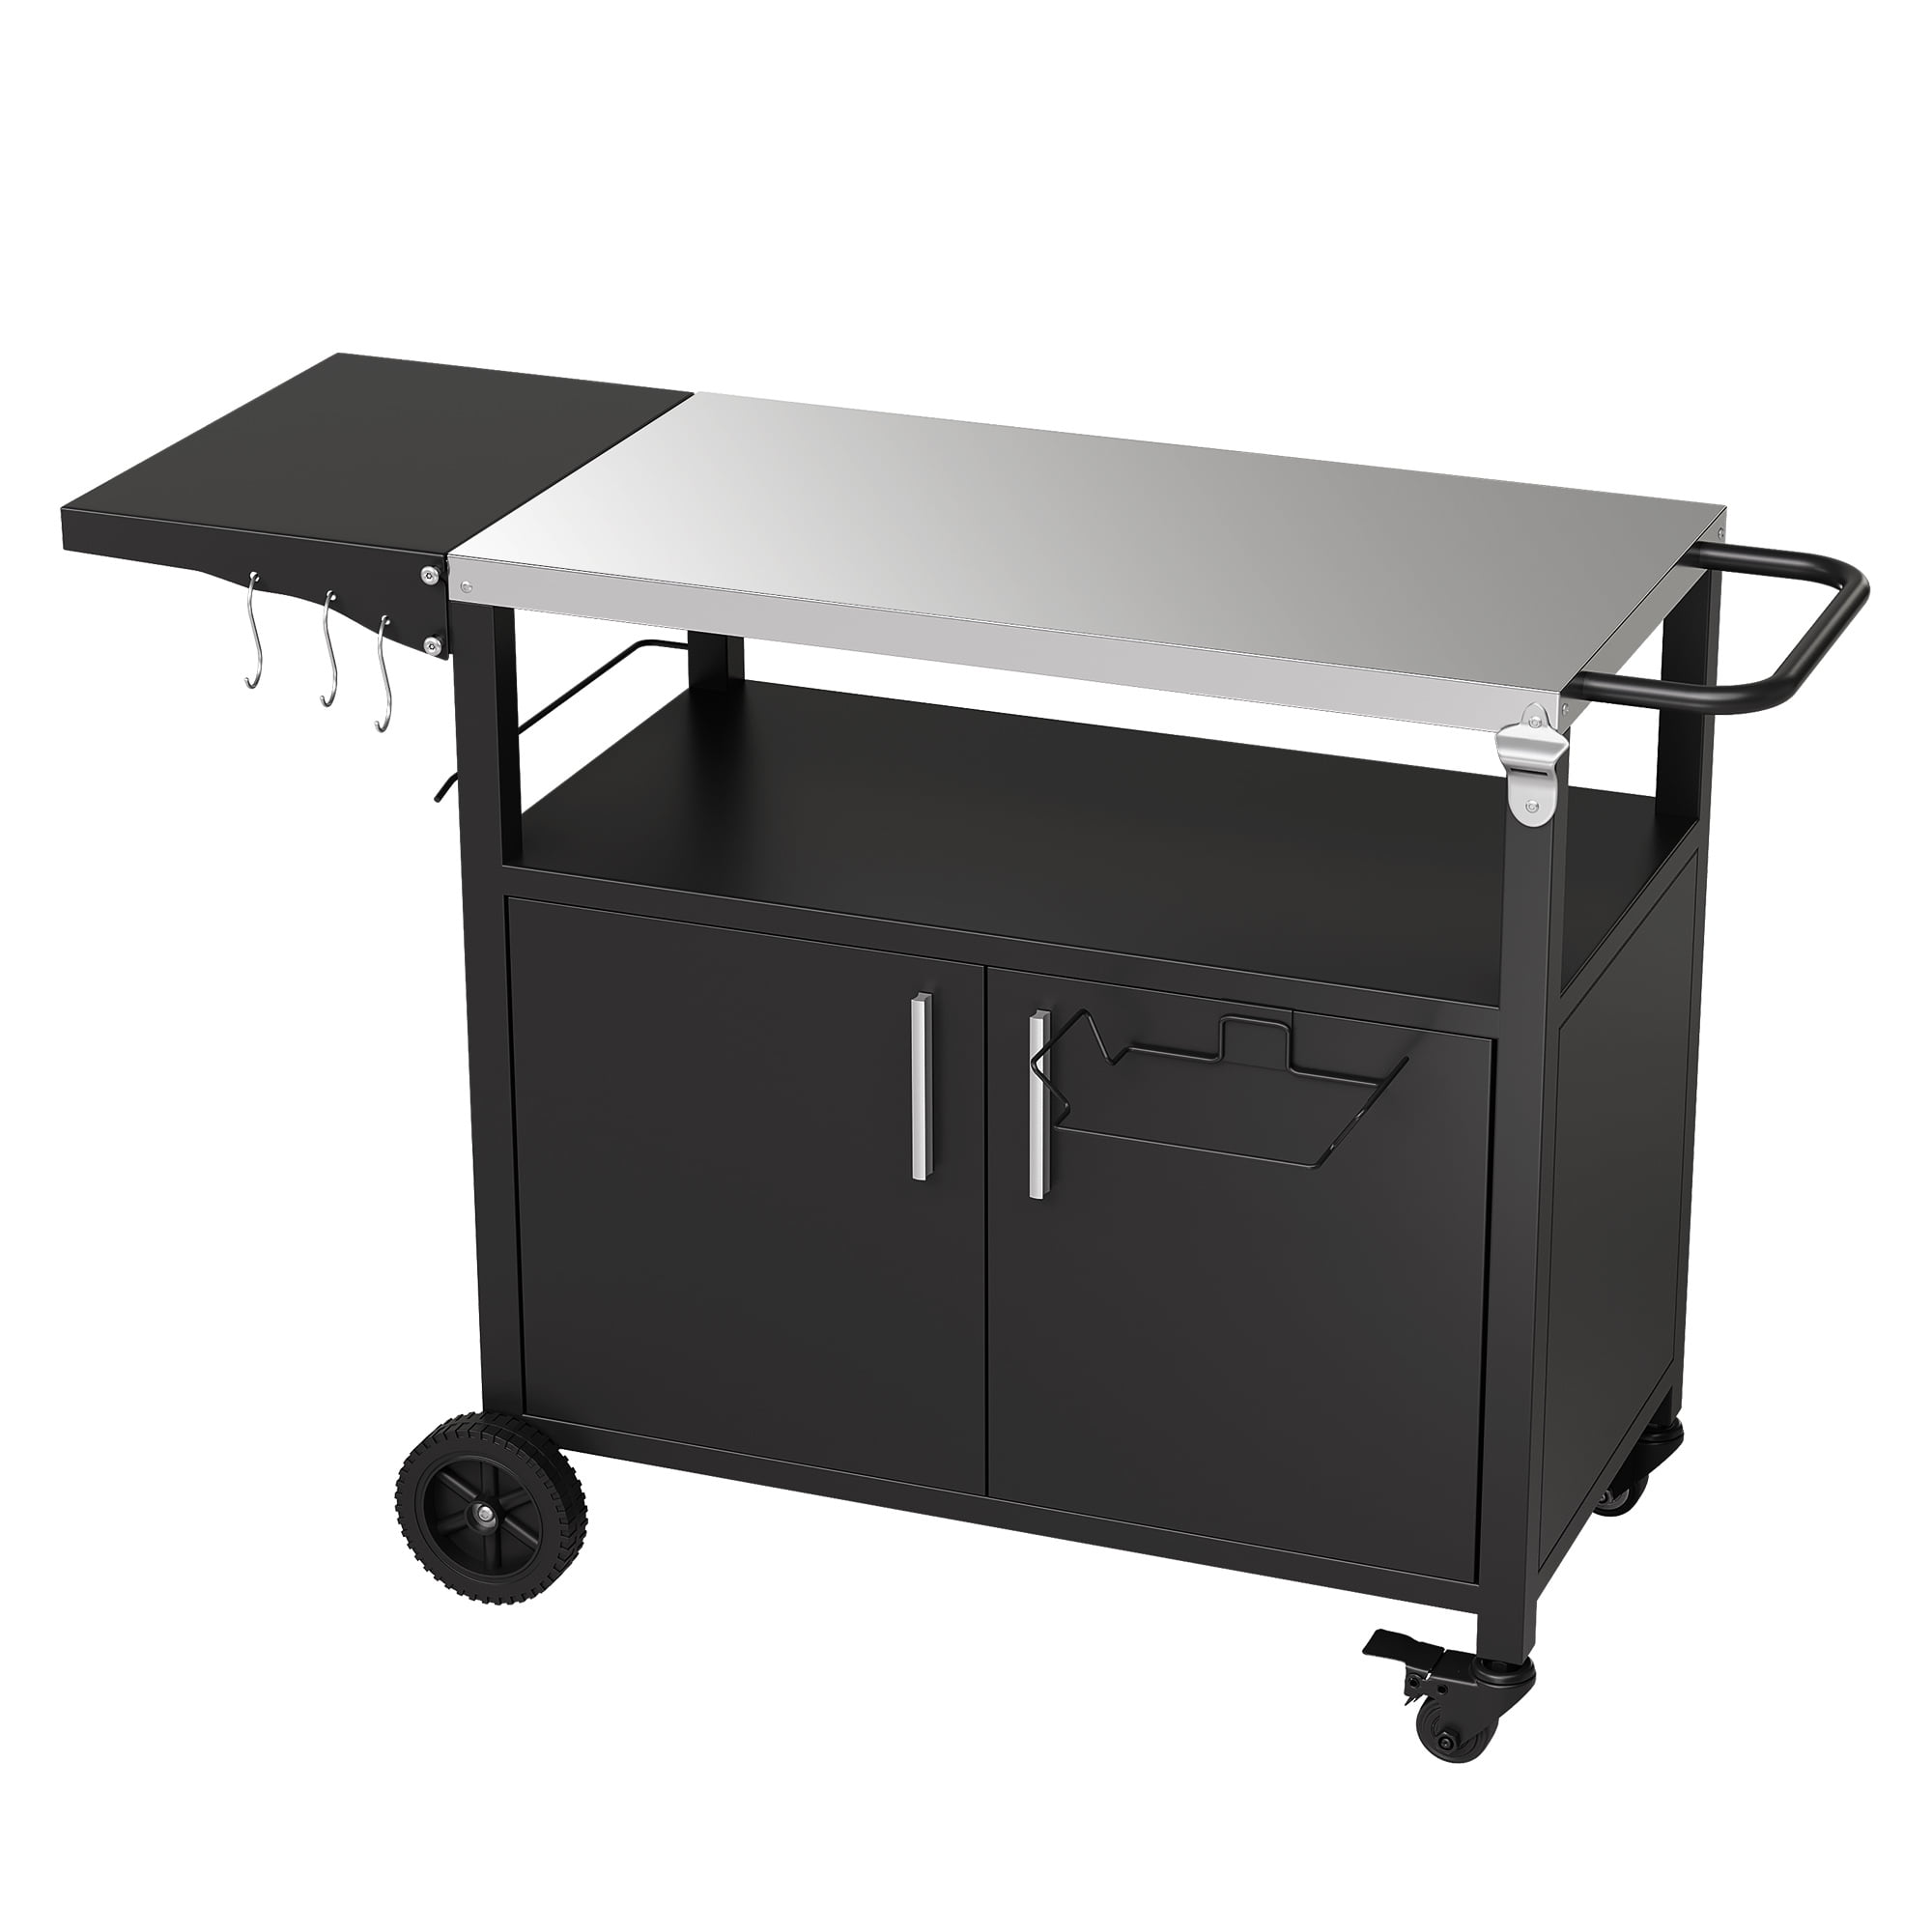
Credit: www.vevor.com
Attaching New Wheels
Attaching new wheels to your BBQ cabinet transforms its mobility and convenience instantly. This task requires more than just fitting wheels; it demands precision to ensure smooth movement and durability. Pay attention to alignment, secure fastening, and stability checks to avoid wobbly or unsafe cabinets.
Aligning Wheels Correctly
Place each wheel at the designated corner of your BBQ cabinet’s base. Make sure the wheels face the right direction—swivel wheels should rotate freely, while fixed wheels stay straight. Misaligned wheels can cause uneven movement and stress on the cabinet.
Check the wheel’s position by gently rolling the cabinet back and forth before securing them. Are all wheels touching the floor evenly? Adjust their placement if you notice any tilt or imbalance.
Securing Wheels With Screws Or Bolts
Use the hardware provided or suitable screws and bolts that match your wheel’s mounting holes. Tighten each screw or bolt firmly but avoid over-tightening, which could strip the threads or damage the cabinet frame.
For extra strength, consider adding washers under the screws to distribute pressure evenly. This small step can prevent the wheels from loosening over time, especially if your BBQ cabinet gets frequent use or is moved on uneven surfaces.
Testing Wheel Stability
After attaching the wheels, push your BBQ cabinet gently across different surfaces to test stability. Listen for any unusual noises or feel for wobbling that might indicate loose fasteners or poor alignment.
Try stopping quickly and turning sharply to see if the wheels hold firm without shaking. If you notice instability, revisit the previous steps to tighten and realign. Your cabinet’s safety and ease of movement depend on these final checks.
Final Adjustments
The final adjustments are crucial to ensure the wheels on your BBQ cabinet work perfectly. This stage involves checking and securing all parts. Proper adjustments guarantee safety and ease of movement. Take your time and inspect every detail carefully.
Tightening Hardware
Secure all nuts and bolts firmly. Loose hardware can cause wobbling or damage. Use a wrench to tighten each fastener. Avoid over-tightening to prevent stripping threads. Check each connection twice for safety.
Ensuring Smooth Movement
Roll the BBQ cabinet back and forth. The wheels should move without resistance or noise. Lubricate the wheel bearings if they feel stiff. Clear any debris caught in the wheels. Smooth movement makes transporting easier and safer.
Locking Mechanisms Check
Test each wheel lock carefully. Locks must hold the cabinet in place firmly. Press down on the lock lever and try to move the cabinet. Adjust or replace faulty locks immediately. Reliable locks prevent accidents during use.
Credit: www.walmart.com
Maintenance Tips
Maintaining the wheels on your BBQ cabinet ensures smooth movement and extends their lifespan. Simple upkeep can prevent unexpected repairs and keep your outdoor cooking area functional. Let’s dive into some practical maintenance tips that you can easily apply.
Cleaning Wheels Regularly
Dirt and debris build up quickly on wheels, especially if your BBQ area is outdoors. Regular cleaning stops grime from causing resistance or damage. Use a damp cloth or a soft brush to remove mud, leaves, and dust from the wheel surface and the surrounding area.
Have you noticed your wheels getting stuck or squeaky? This might be the sign that dirt has accumulated inside the wheel mechanism. A quick wipe-down after every BBQ session can save you from bigger problems later.
Lubricating Moving Parts
Lubrication is key to keeping wheels rolling smoothly. Apply a light oil or silicone spray to the wheel bearings and axles to reduce friction. Avoid heavy grease as it attracts more dirt and can cause buildup.
Try to lubricate the wheels every few months or more often if you use your BBQ cabinet frequently. If you hear creaking or feel resistance when moving the cabinet, lubrication is likely overdue.
Inspecting For Wear And Tear
Regular inspection helps catch wear and tear early before it becomes a safety issue. Look for cracks in the wheels, loose bolts, or any wobbling when the cabinet is in motion. Replace any damaged parts immediately to avoid accidents.
Have you checked your wheels recently? Even small cracks or worn-out tread can affect stability and handling. Taking a few minutes to inspect your wheels can save you from unexpected breakdowns during your next cookout.
Frequently Asked Questions
How Do I Choose The Right Wheels For My Bbq Cabinet?
Select wheels based on weight capacity, surface type, and mobility needs. Opt for durable, rust-resistant materials like rubber or polyurethane for outdoor use.
What Tools Are Needed To Install Wheels On A Bbq Cabinet?
You’ll need a drill, screws, screwdriver, measuring tape, and a wrench. These tools help securely attach wheels to the cabinet base.
Can I Install Wheels On Any Bbq Cabinet Model?
Most BBQ cabinets can be fitted with wheels if the base is sturdy. Check for adequate space and material strength before installation.
How Do I Ensure Wheels Are Securely Attached To The Cabinet?
Measure and mark mounting points accurately. Use appropriate screws and tighten them firmly. Test wheel stability before moving the cabinet.
Conclusion
Installing wheels on your BBQ cabinet is a smart choice. It makes moving the cabinet easier. Follow the steps carefully for the best results. First, gather your tools and materials. Next, ensure the wheels are securely attached. Check for stability before use.
This project is simple and budget-friendly. It saves you time and effort. A portable BBQ cabinet is convenient for gatherings. So, enjoy your improved outdoor cooking experience. Your BBQ setup will be more functional and stylish. Happy grilling!