
Your plastic cooler is your best friend on hot days, keeping your drinks cold and your food fresh. But over time, it can get dirty, smelly, and full of stains.
If you don’t clean it properly, those unwanted odors and germs can spoil your next outing. Luckily, cleaning your cooler doesn’t have to be a tough or messy job. In this guide, you’ll discover simple and effective ways to make your cooler look and smell like new again.
Ready to learn how to keep your cooler fresh and clean every time? Let’s dive in!
Credit: www.clear-cool.co.uk
Choosing The Right Cleaning Supplies
Choosing the right cleaning supplies is key to keeping your plastic cooler spotless without causing damage. Using harsh chemicals or the wrong tools can leave scratches or degrade the plastic over time. You want products that clean effectively but stay gentle enough to preserve your cooler’s lifespan.
Safe Cleaners For Plastic
Look for mild cleaning agents like dish soap or baking soda mixed with water. These options break down dirt and stains without harming the plastic surface. Avoid bleach or ammonia-based cleaners, as they can cause discoloration or weaken the material.
Have you ever noticed a harsh smell after cleaning your cooler? That often signals the use of strong chemicals. Sticking to gentle cleaners helps keep your cooler fresh and safe for food storage.
Tools You’ll Need
The right tools make the job faster and prevent scratches. Soft sponges, microfiber cloths, and nylon brushes are perfect for scrubbing away grime without damaging the plastic.
Steer clear of steel wool or abrasive scrubbers that can leave permanent marks. Having a spray bottle handy can also help you evenly apply your cleaning solution, making the process smoother.
- Soft sponge or microfiber cloth
- Nylon brush for corners and crevices
- Spray bottle for applying cleaner
- Clean towels for drying
What tools do you currently use for cleaning? Switching to gentler options could improve your cooler’s condition dramatically.
Preparing The Cooler For Cleaning
Preparing your plastic cooler before cleaning helps make the process easier and more effective. Proper preparation ensures no dirt or leftover food gets in the way. It also helps you spot any damage or stains that need special care.
Emptying And Inspecting
Start by removing all items from the cooler. Take out ice packs, bottles, and any food remnants. Check the inside and outside for cracks or holes. Look for stains or sticky spots that need extra attention. This step helps avoid damage during cleaning.
Removing Loose Debris
Use a dry cloth or brush to clear loose dirt and debris. Pay attention to corners and crevices where dirt hides. Removing loose debris prevents scratching the cooler’s surface during washing. It also makes cleaning solutions work better on tough spots.
Step-by-step Cleaning Process
Cleaning a plastic cooler properly keeps it fresh and ready for use. Follow this step-by-step process for the best results. Each step targets dirt, stains, and germs to ensure your cooler stays clean and safe.
Washing With Soap And Water
Start by emptying the cooler completely. Use warm water and mild dish soap. Apply soap with a soft sponge or cloth. Scrub all surfaces, including corners and the lid. Rinse thoroughly with clean water to remove soap residue. Dry the cooler with a clean towel or let it air dry.
Tackling Tough Stains
For stubborn stains, make a paste of baking soda and water. Apply the paste to stained areas and let it sit for 10 minutes. Scrub gently with a soft brush or sponge. Rinse well with water. Repeat if stains remain. Avoid harsh scrubbing to prevent scratches.
Sanitizing For Germ-free Results
Mix one tablespoon of bleach with one gallon of water. Use a clean cloth to wipe all cooler surfaces with the solution. Let the bleach sit for five minutes to kill bacteria. Rinse the cooler thoroughly with water. Allow it to air dry fully before storing or use.
Drying And Maintaining Your Cooler
Proper drying and regular care keep your plastic cooler in top shape. Moisture left inside can cause mold and bad smells. Maintaining cleanliness and dryness extends the cooler’s life and keeps it ready for use.
Proper Drying Techniques
After cleaning, leave the cooler open to air dry. Place it in a shaded, well-ventilated area. Avoid direct sunlight to prevent plastic damage. Use a clean towel to wipe excess water from corners and seals. Make sure the lid and body are completely dry before closing. This stops mold and mildew growth inside the cooler.
Tips For Regular Maintenance
- Clean the cooler after each use with mild soap and water.
- Check and replace damaged seals to keep it airtight.
- Store the cooler with the lid slightly open to allow airflow.
- Use baking soda or charcoal inside to absorb odors.
- Inspect the cooler for cracks or damage regularly.
Preventing Odors And Mold
Plastic coolers can trap moisture and leftover food smells easily. This creates a perfect place for mold and bad odors to grow. Preventing these issues keeps your cooler fresh and safe for your next use. Simple habits and natural cleaners work well to stop smells and mold before they start.
Using Natural Deodorizers
Natural deodorizers remove bad smells without harsh chemicals. Baking soda is a top choice. It absorbs odors and moisture inside the cooler. Sprinkle baking soda inside, leave it for a few hours, then wipe clean.
White vinegar is another great deodorizer. Mix equal parts water and vinegar, then wipe the cooler’s interior. The vinegar kills mold spores and neutralizes odors. Let the cooler air dry before closing it.
Activated charcoal also works well. Place a small bag of it in the cooler during storage. It soaks up moisture and odors silently and effectively.
Storage Tips To Avoid Mold
- Always dry the cooler completely before storing it.
- Keep the lid slightly open to allow airflow.
- Store the cooler in a cool, dry place away from direct sunlight.
- Use moisture-absorbing packets or silica gel inside the cooler.
- Clean the cooler regularly after each use to remove food residue.
Following these steps keeps your plastic cooler fresh and mold-free. A clean, dry cooler lasts longer and stays odor-free for every trip.
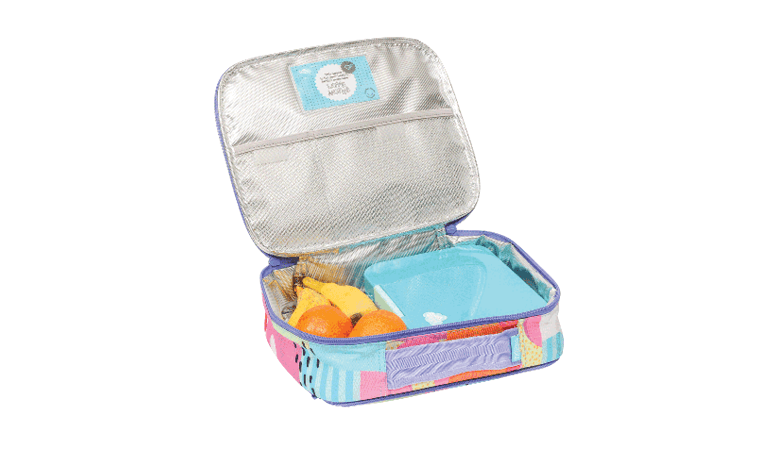
Credit: spencil.com.au
When To Replace Your Cooler
Knowing when to replace your plastic cooler can save you time and frustration. A cooler that no longer keeps ice cold or leaks water loses its purpose. Replacing it ensures your drinks and food stay fresh during outings. It also helps avoid spills and messes caused by cracks or broken parts. Watch for key signs that show your cooler needs a replacement.
Signs Of Wear And Damage
- Visible cracks or holes in the cooler body
- Broken or loose hinges and latches
- Leaks or water pooling inside the cooler
- Insulation that no longer keeps items cold
- Unpleasant odors that won’t go away after cleaning
- Damaged or missing seals around the lid
These signs mean the cooler cannot perform well. Using it may cause ice to melt quickly or spill liquids. It is safer and more practical to replace the cooler at this stage.
Choosing A Durable Replacement
Pick a cooler made from strong, thick plastic for longer use. Look for models with high-quality insulation to keep ice frozen longer. Check that the hinges and latches feel sturdy and secure. A good seal around the lid helps prevent leaks and keep cold air inside.
Consider coolers with extra features like drain plugs or reinforced corners. These add convenience and protect the cooler from damage. A durable cooler reduces the need for frequent replacements and saves money over time.

Credit: www.youtube.com
Frequently Asked Questions
How Often Should You Clean A Plastic Cooler?
Clean your plastic cooler after each use to prevent odor and bacteria buildup. Regular cleaning ensures it stays fresh and hygienic for your next adventure. A quick wipe-down with mild soap and water usually does the trick. For stubborn stains, use a baking soda paste.
What Cleaning Products Are Safe For Coolers?
Use mild dish soap, baking soda, or vinegar to clean your cooler safely. Harsh chemicals can damage the plastic and leave harmful residues. A gentle scrub with a soft brush helps remove stains without scratching the surface. Rinse thoroughly to ensure no cleaner remains.
How Do You Remove Odors From A Cooler?
To remove odors, clean with a baking soda and water solution. Let it sit for 15 minutes, then rinse. For persistent smells, place a bowl of baking soda inside the closed cooler overnight. This absorbs lingering odors, leaving your cooler fresh and ready for use.
Can I Use Bleach On My Plastic Cooler?
Avoid using bleach as it can damage the cooler’s plastic material. Opt for a mixture of water and vinegar for a safer, effective clean. Vinegar disinfects and deodorizes without harsh chemicals. Rinse thoroughly to ensure no vinegar smell lingers in the cooler.
Conclusion
Cleaning your plastic cooler keeps it fresh and ready to use. Use gentle soap and warm water for the best results. Scrub all corners to remove dirt and odors. Rinse well to avoid leftover soap. Dry completely before storing to stop mold growth.
Regular cleaning helps your cooler last longer. Easy steps make maintenance simple and quick. Enjoy your clean cooler on every trip.