
Imagine turning your ordinary grill into a powerful rotisserie that cooks juicy, evenly roasted meals every time. You don’t need to buy a new appliance or spend a fortune.
With a few simple steps, you can transform your grill into a rotisserie setup that will impress your family and friends. Ready to unlock new flavors and take your outdoor cooking to the next level? Keep reading, and you’ll discover exactly how to make it happen—quickly and easily.
Choosing The Right Grill
Choosing the right grill is key to turning it into a rotisserie. Not all grills work the same for this cooking style. Some grills make the process easier and more effective. Consider the type and size of the grill before making changes. The correct choice will improve cooking results and ease of use.
Gas Vs. Charcoal
Gas grills offer steady heat and easy control. This makes them good for rotisserie cooking. You can adjust the burners to keep the meat evenly cooked. Many gas grills come with built-in rotisserie kits or attachments.
Charcoal grills provide strong, smoky flavors. They may need more attention to keep the heat steady. Setting up a rotisserie on charcoal grills can be more hands-on. You might need extra tools to control the heat and keep the coals in place.
Both types can work well. Choose based on how much control you want and the flavor you prefer.
Size And Capacity
Check the grill size to fit the rotisserie spit and motor. The spit must be long enough to hold the food. Also, the grill should have enough space for the food to turn freely.
Consider the weight the spit can carry. Bigger grills handle larger food pieces, like whole chickens or roasts. Smaller grills limit the size of the meat you can cook.
Look for grills with open space below the cooking area. This space is useful for mounting the rotisserie motor securely. The grill should also allow easy access to the motor and spit handle.

Credit: www.youtube.com
Gathering Essential Tools
Before you convert your regular grill into a rotisserie, you need to gather the right tools. Having the correct equipment not only makes the process smoother but also ensures your food cooks evenly and safely. Let’s break down what you’ll need to get started and how each item plays a crucial role in your rotisserie setup.
Rotisserie Kit Basics
A rotisserie kit is the heart of turning your grill into a rotisserie. Most kits come with a motor, a spit rod, and forks to hold your meat securely.
- Motor:This powers the rotation. Look for one that fits your grill and has enough torque to handle the weight of your meat.
- Spit Rod:Usually stainless steel, it runs through the center of your food. It needs to be long enough to fit your grill and sturdy enough to hold heavy cuts.
- Forks:These clamp the meat to the spit rod. Choose adjustable forks to accommodate different sizes and shapes of food.
When I first tried a rotisserie, I underestimated the motor’s power and struggled with uneven cooking. Choosing the right motor made all the difference.
Additional Accessories
Besides the basic kit, some extra accessories can improve your rotisserie experience and results.
- Drip Pan:Placed under the meat, it catches drippings, preventing flare-ups and making cleanup easier.
- Heat Deflector:Helps distribute heat evenly around the food, especially important for charcoal grills.
- Meat Thermometer:A must-have to monitor internal temperature without interrupting the cooking process.
- Gloves and Tools:Heat-resistant gloves and long-handled tongs keep you safe when handling hot equipment and food.
Have you ever dealt with flare-ups that char your meat? A drip pan might be your new best friend. Also, keeping an eye on the temperature ensures your roast is juicy, not dry.
Preparing The Grill
Preparing your grill properly is the key to a successful rotisserie cooking experience. It sets the stage for even heat and smooth rotation, ensuring your food cooks perfectly. Let’s dive into the essential steps to get your grill ready before attaching the rotisserie.
Cleaning The Grates
Start by thoroughly cleaning the grill grates. Old grease and food residue can cause uneven heat and flare-ups, which disrupt the rotisserie’s rotation and cooking.
Use a sturdy grill brush to scrape off any stuck-on debris. If your grates are especially dirty, soak them in warm, soapy water for 15 minutes before scrubbing.
After cleaning, wipe the grates with a paper towel dipped in cooking oil. This prevents sticking and helps create a non-stick surface for your rotisserie-cooked food.
Setting Up The Heat Source
Rotisserie cooking requires indirect heat to cook food evenly without burning. Arrange your coals or burners so the heat source sits on either side of the grill, leaving the center clear for the rotisserie spit.
- If you use charcoal, bank the coals on both sides and leave the middle empty.
- For gas grills, turn on burners on the left and right, keeping the center burner off.
This setup creates a balanced, steady heat that slowly cooks your meat as it rotates. Have you ever noticed uneven cooking when the heat is too direct? Adjusting your heat source makes a huge difference in flavor and texture.
Installing The Rotisserie
Installing the rotisserie on your grill transforms your cooking experience by adding a new level of flavor and texture. This process requires attention to detail but is straightforward with the right tools and instructions. Let’s break down how to get your rotisserie setup ready for perfect, even cooking.
Assembling The Rotisserie Kit
Start by unpacking your rotisserie kit and laying out all the parts. You’ll usually find the spit rod, forks, motor bracket, and counterbalance weight included. Check each item carefully to ensure nothing is missing before you begin.
Attach the forks onto the spit rod, making sure they are securely tightened to hold your meat steady. The forks should be positioned to grip the food without damaging it, which helps with even rotation. If your kit includes a counterbalance, slide it onto the rod opposite the forks to balance the load.
Have you ever struggled with meat slipping off the spit? Proper fork placement prevents this, so don’t rush this step. Take your time to align the forks and tighten them firmly.
Securing The Motor
Next, mount the motor bracket to your grill. Most grills have designated holes or slots for the rotisserie motor, but if yours doesn’t, find a sturdy spot where the motor can attach without wobbling. Stability is key to smooth rotation and consistent cooking.
Once the bracket is in place, slide the motor onto it and lock it securely. Connect the motor’s power source, whether it’s batteries or an electric plug. Test the motor by turning it on briefly to ensure it spins the spit rod without any resistance.
Think about how uneven rotation affects cooking—have you noticed that with other grills? Securing the motor firmly eliminates this problem and lets you focus on flavor, not fix-ups during cooking.
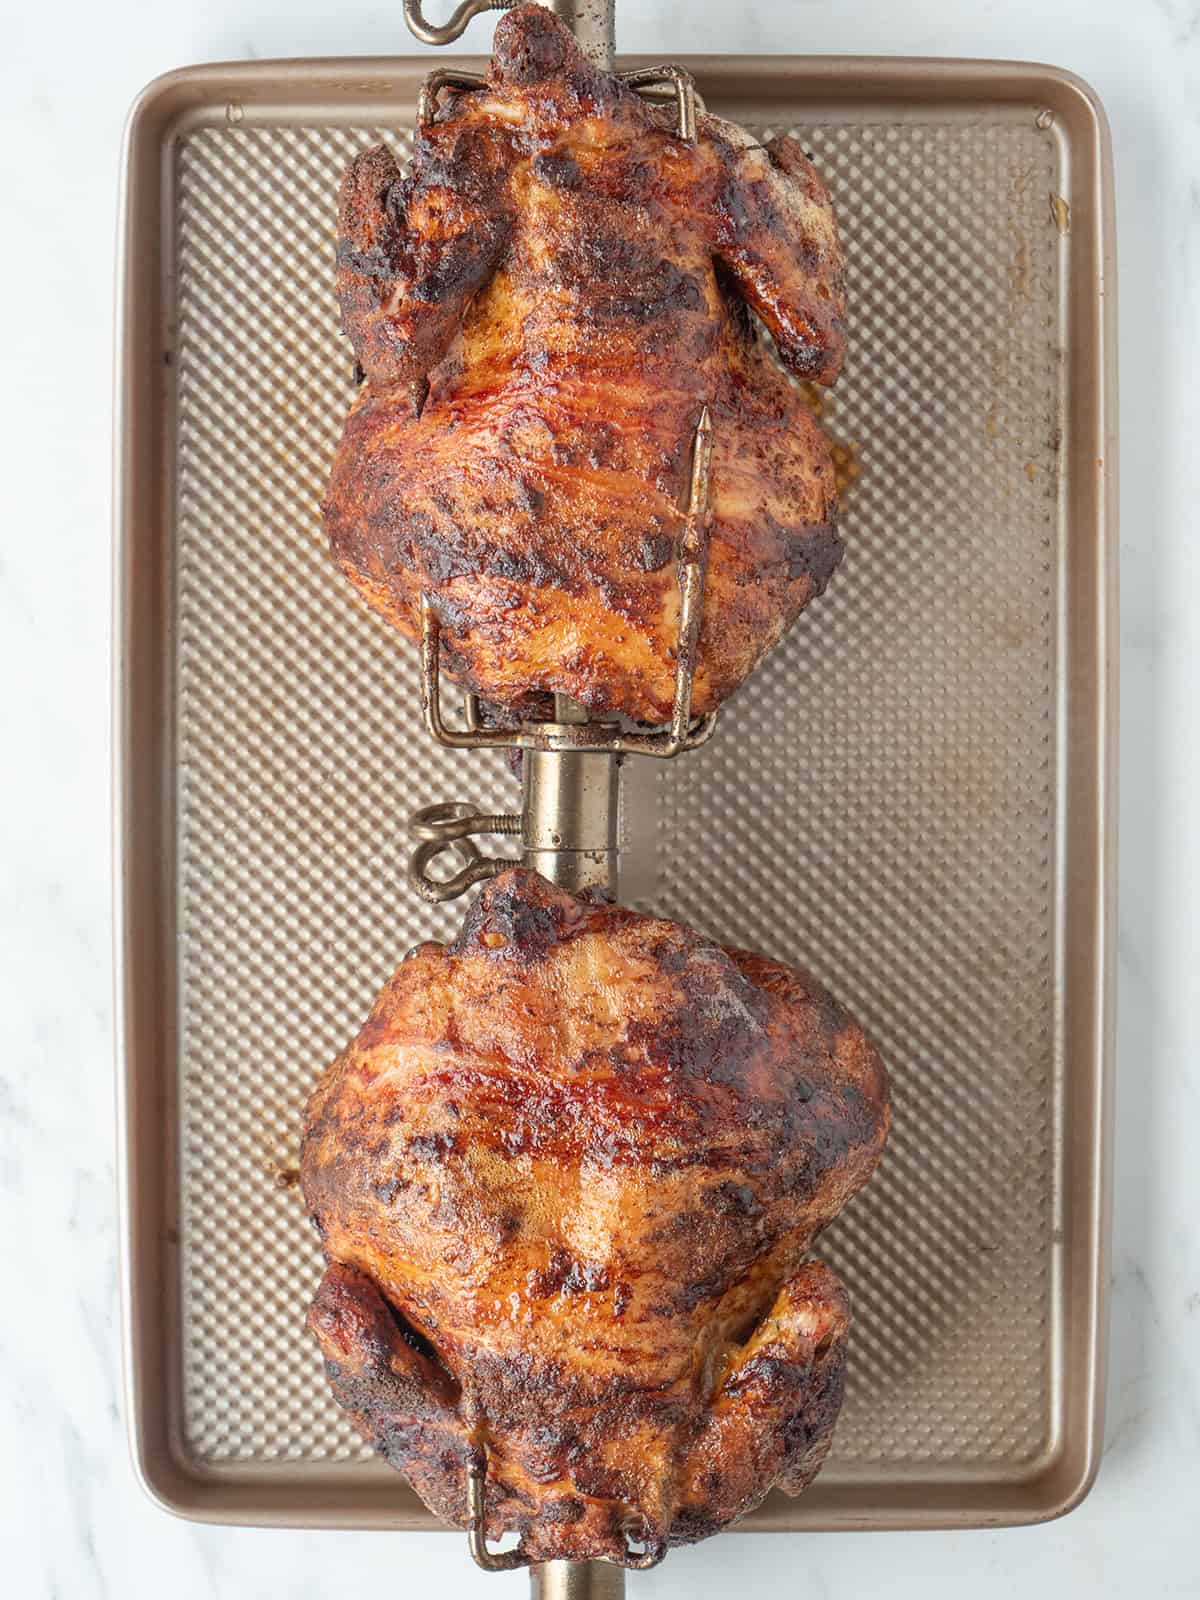
Balancing The Meat
Balancing the meat on your rotisserie is crucial to getting a perfectly cooked, juicy result. If the meat isn’t balanced properly, you risk uneven cooking and added strain on your grill’s motor. Taking the time to balance your meat ensures smooth rotation and consistent heat distribution.
Trussing Techniques
Trussing keeps the meat secure and helps maintain its shape during cooking. Use kitchen twine to tie the meat tightly but not too tight to squeeze out juices. Wrap the twine around the thickest parts and tie knots at regular intervals to keep everything in place.
Try to keep the meat evenly shaped by folding or tucking loose parts before tying. This makes balancing easier and prevents any part from flopping or catching on the rotisserie. Have you ever noticed how a loose wing on a chicken spins wildly? Proper trussing prevents that.
Ensuring Even Cooking
Once trussed, test the balance by placing the meat on the spit and spinning it by hand. The meat should rotate smoothly without one side dragging down. If it tilts, adjust by shifting the meat or adding small weights like foil balls on the lighter side.
Even cooking depends on the meat’s center of gravity aligning with the spit’s middle. A well-balanced load reduces the grill motor’s workload and keeps the meat turning steadily. What small adjustments can you make to get your meat perfectly balanced before starting the grill?
Credit: whatsgabycooking.com
Cooking Techniques
Mastering the cooking techniques is essential when turning your grill into a rotisserie. It’s not just about spinning the meat; controlling heat and timing directly affects the flavor and texture of your dish. Let’s look at how you can manage these elements effectively for perfect results every time.
Managing Heat Levels
Maintaining consistent heat is key to rotisserie cooking. Too much heat can burn the outside while leaving the inside undercooked.
Use indirect heat by positioning your coals or burners on either side of the grill, leaving the center free for the rotisserie. This setup allows the meat to cook evenly as it rotates.
Keep a close eye on your grill’s temperature gauge. Aim for a steady range around 300°F to 350°F (150°C to 175°C). Adjust vents or burners as needed to prevent temperature spikes.
Have you ever noticed how uneven heat can ruin a slow-cooked meal? With rotisserie, even heat distribution is your best friend.
Monitoring The Cooking Time
Cooking time varies depending on the size and type of meat you’re using. A whole chicken might take around 1.5 to 2 hours, while larger cuts like a roast can take 3 hours or more.
Use a reliable meat thermometer to check internal temperatures rather than relying solely on time. This helps avoid overcooking or undercooking.
- Chicken: 165°F (74°C) internal temperature
- Beef (medium-rare): 135°F (57°C)
- Pork: 145°F (63°C)
Rotate your meat evenly, but don’t open the grill too often to check. Each time you open it, heat escapes and cooking slows down.
What’s your experience with timing on the grill? Have you ever guessed and missed the mark? Using a thermometer and paying attention to time can change your results dramatically.
Safety Tips
Turning your grill into a rotisserie can elevate your cooking game, but it also introduces new safety challenges. Handling a rotisserie means dealing with moving parts and high heat simultaneously. Staying safe ensures you enjoy your cooking experience without accidents or injuries.
Handling Hot Surfaces
Rotisserie spits and grill grates get extremely hot—often hotter than when you grill normally. Never touch these parts with bare hands, even if the flames look low. Heat can cause severe burns in seconds.
Always wait for the grill and rotisserie to cool down before adjusting or cleaning. Use tools with long handles to manage the spit or adjust meat placement. Ask yourself: are you leaving enough time for cooling, or rushing and risking burns?
Using Protective Gear
Wearing protective gear is not optional; it’s essential. Heat-resistant gloves protect your hands from burns when handling the spit or removing cooked food. I’ve learned the hard way that kitchen towels don’t cut it.
Also consider wearing an apron to shield your clothes and skin from grease splatters. Safety glasses can protect your eyes from unexpected sparks or hot grease. What protective gear do you rely on when cooking at high heat?
Cleaning Up
Cleaning up after using your grill as a rotisserie is crucial for maintaining its performance and extending its life. You want to avoid buildup that can affect the taste of your food or cause damage over time. Taking a few minutes to properly clean and store your rotisserie kit will save you effort and frustration in future cookouts.
Removing Grease And Residue
Grease and food residue can quickly accumulate on the spit rod and forks. Use a grill brush or a scrubbing pad with warm, soapy water to remove stuck-on bits. Avoid harsh chemicals that might leave a smell or taste on your next meal.
If you notice stubborn grease, soak the parts in hot water for 15-20 minutes before scrubbing. This softens residue and makes cleanup easier. Don’t forget to wipe down the motor housing gently with a damp cloth, ensuring no water seeps into the electrical parts.
Storing The Rotisserie Kit
Storing your rotisserie kit properly keeps it ready for your next use. After drying all parts thoroughly, wrap the spit rod and forks in a clean cloth or place them in a storage bag to prevent dust and moisture buildup.
Keep the motor unit in a cool, dry place away from direct sunlight. If your grill has a dedicated rotisserie holder or compartment, use it to avoid misplacing small parts like screws and brackets.
Have you ever lost a tiny piece of your rotisserie kit and spent hours searching? A simple storage routine can stop that hassle before it starts.

Credit: primer.mn
Frequently Asked Questions
How Do I Convert A Regular Grill To A Rotisserie?
You need a rotisserie kit with a motor, spit rod, and forks. Attach the motor and secure the rod over the grill. This setup allows even cooking by rotating the meat slowly.
What Tools Are Necessary For Grill-to-rotisserie Conversion?
Essential tools include a rotisserie motor, spit rod, forks, and mounting brackets. You might also need basic tools like a screwdriver or wrench for assembly.
Can Any Grill Be Used As A Rotisserie?
Most gas and charcoal grills can be adapted with the right kit. Ensure your grill has enough space and sturdy support for the rotisserie assembly.
How Do I Maintain Even Cooking On A Rotisserie Grill?
Adjust the heat zones to medium and indirect heat. Keep the meat centered on the spit rod. Regularly check the motor and temperature for consistent cooking.
Conclusion
Turning your grill into a rotisserie opens new cooking options. It lets you cook meat evenly and keeps it juicy. The process is simple and does not need special tools. You can enjoy tender, flavorful meals without much effort. Try it at your next barbecue to impress friends and family.
Cooking becomes fun and tasty with this easy method. Give your grill a fresh twist today.