
If you love juicy, flavorful chicken with crispy skin, rotisserie grilling is a game-changer. But how long should you rotisserie a chicken on the grill to get perfect results every time?
You don’t want to guess and end up with undercooked meat or dry, tough chicken. You’ll discover the exact timing and tips to master rotisserie chicken on your grill. Keep reading, and you’ll learn how to impress your friends and family with mouthwatering, perfectly cooked chicken that melts in your mouth.
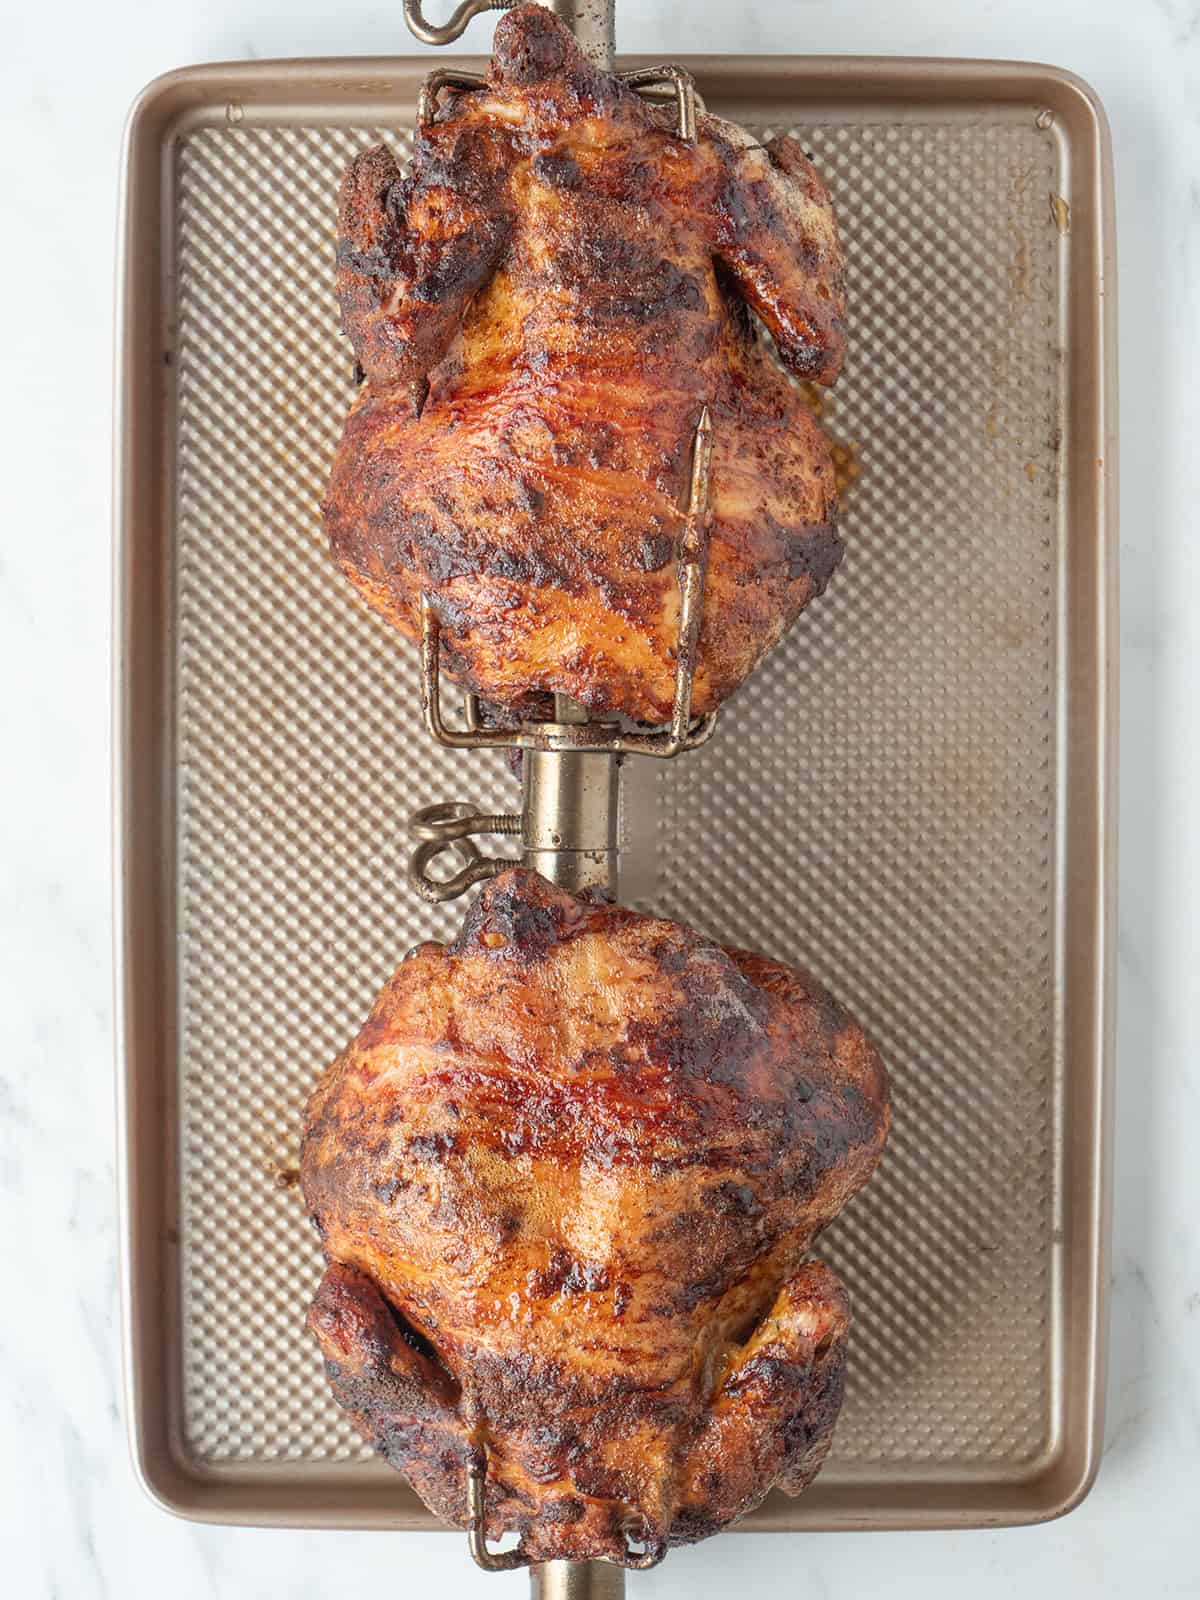
Credit: whatsgabycooking.com
Choosing The Right Chicken
Choosing the right chicken is key to perfect rotisserie grilling. The size and freshness affect cooking time and flavor. Picking the best bird sets the stage for juicy, tender meat.
Selecting The Size
Chicken size changes the rotisserie time a lot. Smaller birds cook faster and need less heat. Larger chickens take longer and need steady, even heat.
- 2.5 to 3.5 pounds: Ideal size for even cooking and juicy meat.
- Over 4 pounds: Requires longer cooking and careful heat control.
- Under 2.5 pounds: May cook too fast, risking dryness.
Choose a size that fits your grill and feeding needs.
Fresh Vs. Frozen
Fresh chicken often tastes better and cooks more evenly. It keeps natural juices and texture well. Frozen chicken can work but requires full thawing first.
- Fresh chicken: Best for flavor and consistent cooking.
- Frozen chicken: Thaw completely to avoid uneven cooking.
- Never cook frozen chicken directly on the rotisserie.
Proper thawing prevents food safety risks and helps heat reach the center.

Credit: caribbeanpot.com
Preparing The Chicken
Preparing the chicken properly sets the stage for a juicy and flavorful rotisserie meal. This step ensures the meat cooks evenly and absorbs tasty flavors. Taking time to prepare the chicken well improves the grilling experience and final result.
Brining For Flavor
Brining adds moisture and flavor to the chicken. Soak the bird in a saltwater solution for a few hours or overnight. The salt helps the meat hold water during cooking, making it tender and juicy.
Use this simple brine recipe:
- 4 cups water
- ¼ cup salt
- ¼ cup sugar
- Optional herbs like rosemary or thyme
Rinse the chicken after brining to remove extra salt. Pat it dry before seasoning or placing on the rotisserie.
Seasoning Techniques
Seasoning adds taste and enhances the chicken’s aroma. Use a dry rub or a marinade for best results. Rub spices evenly under and over the skin for deep flavor.
Common spices include:
- Paprika
- Garlic powder
- Black pepper
- Onion powder
- Chili flakes
For a marinade, mix oil, lemon juice, garlic, and herbs. Let the chicken soak for at least one hour. This helps the flavors penetrate the meat.
Setting Up The Grill
Getting your grill ready for rotisserie chicken sets the stage for juicy, evenly cooked results. How you arrange your equipment and control the heat can make or break the cooking process. Let’s look closely at the essentials that prepare your grill for the perfect rotisserie experience.
Temperature Control
Maintaining a steady temperature is crucial. Aim for a medium heat, around 300°F to 350°F, to cook the chicken thoroughly without burning the skin.
Use a grill thermometer to keep an eye on the temperature. Adjust vents or burners as needed to avoid hot spots or temperature dips.
Have you noticed how fluctuating heat can cause uneven cooking? Keeping your grill’s temperature stable helps the chicken cook evenly all around.
Proper Rotisserie Setup
Start by securing the chicken tightly on the spit rod to prevent it from wobbling during rotation. Balanced weight ensures smooth spinning and even cooking.
Position the drip pan underneath to catch fat and juices, reducing flare-ups and adding moisture to the cooking environment.
Check that the motor turning the spit is running steadily and can handle the weight. A jerky rotation can cause the chicken to cook unevenly or fall off.
Cooking Time Guidelines
Getting the cooking time right is key to a juicy, tender rotisserie chicken. Too short, and the meat will be undercooked; too long, and it becomes dry. Understanding clear guidelines helps you avoid guesswork and makes your grilling experience smoother.
Weight-based Timing
Cooking time depends heavily on your chicken’s weight. A general rule is about 15 to 20 minutes per poundon the grill at a medium heat, around 350°F (175°C).
For example, a 4-pound chicken usually takes between 60 and 80 minutes. If your bird is heavier or lighter, adjust accordingly. Keep in mind that factors like grill temperature fluctuations can affect this, so use these times as a starting point.
- 2-pound chicken: 30 to 40 minutes
- 3-pound chicken: 45 to 60 minutes
- 5-pound chicken: 75 to 100 minutes
Using A Meat Thermometer
Weight-based timing is helpful, but nothing beats checking the internal temperature for accuracy. Insert a meat thermometer into the thickest part of the thigh without touching bone.
Look for a temperature of 165°F (74°C)to ensure safety and juiciness. I once relied solely on timing and ended up with a dry chicken; since switching to a thermometer, every rotisserie chicken turned out perfectly moist.
Don’t rush this step. Let the thermometer be your final say rather than the clock. Are you confident in your grill’s consistency, or would a thermometer make your life easier?
Common Mistakes To Avoid
Rotisserie grilling is an art that requires attention to detail. Avoiding common mistakes can save you from a disappointing meal and frustration. Let’s look at some pitfalls that often catch even experienced grillers off guard.
Overcooking Risks
Overcooking is one of the most frequent errors when rotisserie grilling chicken. It dries out the meat and ruins the texture, leaving you with a tough bite instead of juicy tenderness.
Keep a reliable meat thermometer handy to monitor the internal temperature. Pull the chicken off the grill as soon as it hits 165°F (74°C). Waiting longer won’t make it better; it will only turn your bird into a dry mess.
Have you ever ended up with a stringy chicken that’s hard to chew? That’s usually a sign it stayed on the heat too long. Adjust your timing and watch the temperature closely to avoid this common pitfall.
Uneven Cooking
Uneven cooking happens when the chicken isn’t balanced correctly on the spit or if the grill’s heat distribution is off. This can leave some parts raw while others are overdone.
Make sure to secure the chicken tightly and position it so it spins evenly. Check your grill’s burners or coals to ensure consistent heat all around.
Think about how you feel biting into one side of the chicken that’s perfectly cooked and the other side that’s still pink. Uneven heat is the culprit, and it’s preventable with proper setup.
- Check your rotisserie rod balance before starting.
- Adjust grill vents or burners for steady heat.
- Rotate or reposition the chicken if you notice uneven spots early on.
Enhancing Flavor
Enhancing the flavor of a rotisserie chicken on the grill makes it truly memorable. Simple techniques bring out the best taste. Moisture, herbs, and spices all play a role.
Basting Tips
Basting keeps the chicken juicy and adds extra flavor. Use a brush or spoon to apply marinade or melted butter. Baste every 15 to 20 minutes during cooking. This helps form a crispy, tasty skin. Avoid opening the grill too often to keep heat steady.
Adding Aromatics
Aromatics like garlic, lemon, and herbs infuse the chicken with rich scents. Place them inside the chicken cavity or around it on the grill. Fresh rosemary, thyme, or sage work well. Citrus slices add a fresh, bright flavor. This simple step creates deeper, complex taste layers.
Serving Suggestions
Serving a rotisserie chicken straight off the grill is a delight. The juicy meat and crispy skin are satisfying alone. Pairing the chicken with the right sides enhances the meal. Carving the chicken properly makes eating easier and neater. These tips help you enjoy your grilled rotisserie chicken to the fullest.
Side Dishes Pairing
- Roasted vegetables like carrots and potatoes complement the chicken well.
- A fresh green salad adds a crisp, light contrast.
- Garlic mashed potatoes bring creamy richness to the plate.
- Grilled corn on the cob offers a sweet, smoky flavor.
- Rice pilaf or couscous adds a mild, fluffy texture.
- Coleslaw provides a tangy crunch, balancing the savory chicken.
Carving Tips
Let the chicken rest for 10 minutes after grilling. This keeps the juices inside the meat. Use a sharp knife for clean cuts. Start by removing the legs and thighs. Cut along the joint where the leg connects to the body.
Next, slice the breast meat from one side. Cut thin slices against the grain for tenderness. Remove the wings last. Arrange the pieces neatly on a serving platter. This helps guests serve themselves easily.

Credit: caribbeanpot.com
Frequently Asked Questions
How Long Does It Take To Rotisserie A Chicken On The Grill?
Rotisserie a chicken on medium heat for about 1 to 1. 5 hours. Cooking time varies by chicken size and grill temperature. Use a meat thermometer to ensure it reaches 165°F internally for safe consumption.
What Temperature Should The Grill Be For Rotisserie Chicken?
Set the grill temperature to around 300°F to 350°F for even cooking. This moderate heat allows the chicken to cook thoroughly without burning the skin. Maintaining consistent heat is key for juicy results.
How Do You Know When Rotisserie Chicken Is Fully Cooked?
The chicken is done when its internal temperature hits 165°F. Use a meat thermometer inserted into the thickest part of the thigh. The juices should run clear, indicating it’s safe and ready to eat.
Can I Rotisserie A Frozen Chicken On The Grill?
No, always thaw the chicken completely before rotisserie grilling. Cooking frozen chicken leads to uneven cooking and potential food safety risks. Thaw in the fridge overnight for best results.
Conclusion
Rotisserie grilling takes time and patience. Aim for about 15-20 minutes per pound. Check the chicken’s internal temperature for safety. It should reach 165°F (74°C) to be fully cooked. Turn the chicken evenly for a crispy, golden skin. Let it rest a few minutes before slicing.
This helps keep the juices inside. With practice, you’ll know just the right timing. Enjoy tender, flavorful chicken every time you grill. Simple steps make a big difference in taste. Give it a try and savor the results.