
If you’re working in a busy kitchen or outdoor cooking space, having your propane holder securely attached to your prep table can make all the difference. Imagine how much easier your cooking process will be when everything you need is right at your fingertips and safely in place.
But if you’re not sure how to attach your propane holder properly, it can feel frustrating and even risky. In this guide, you’ll learn simple, clear steps to get your propane holder set up quickly and safely. Keep reading, and you’ll have your workspace organized like a pro in no time.
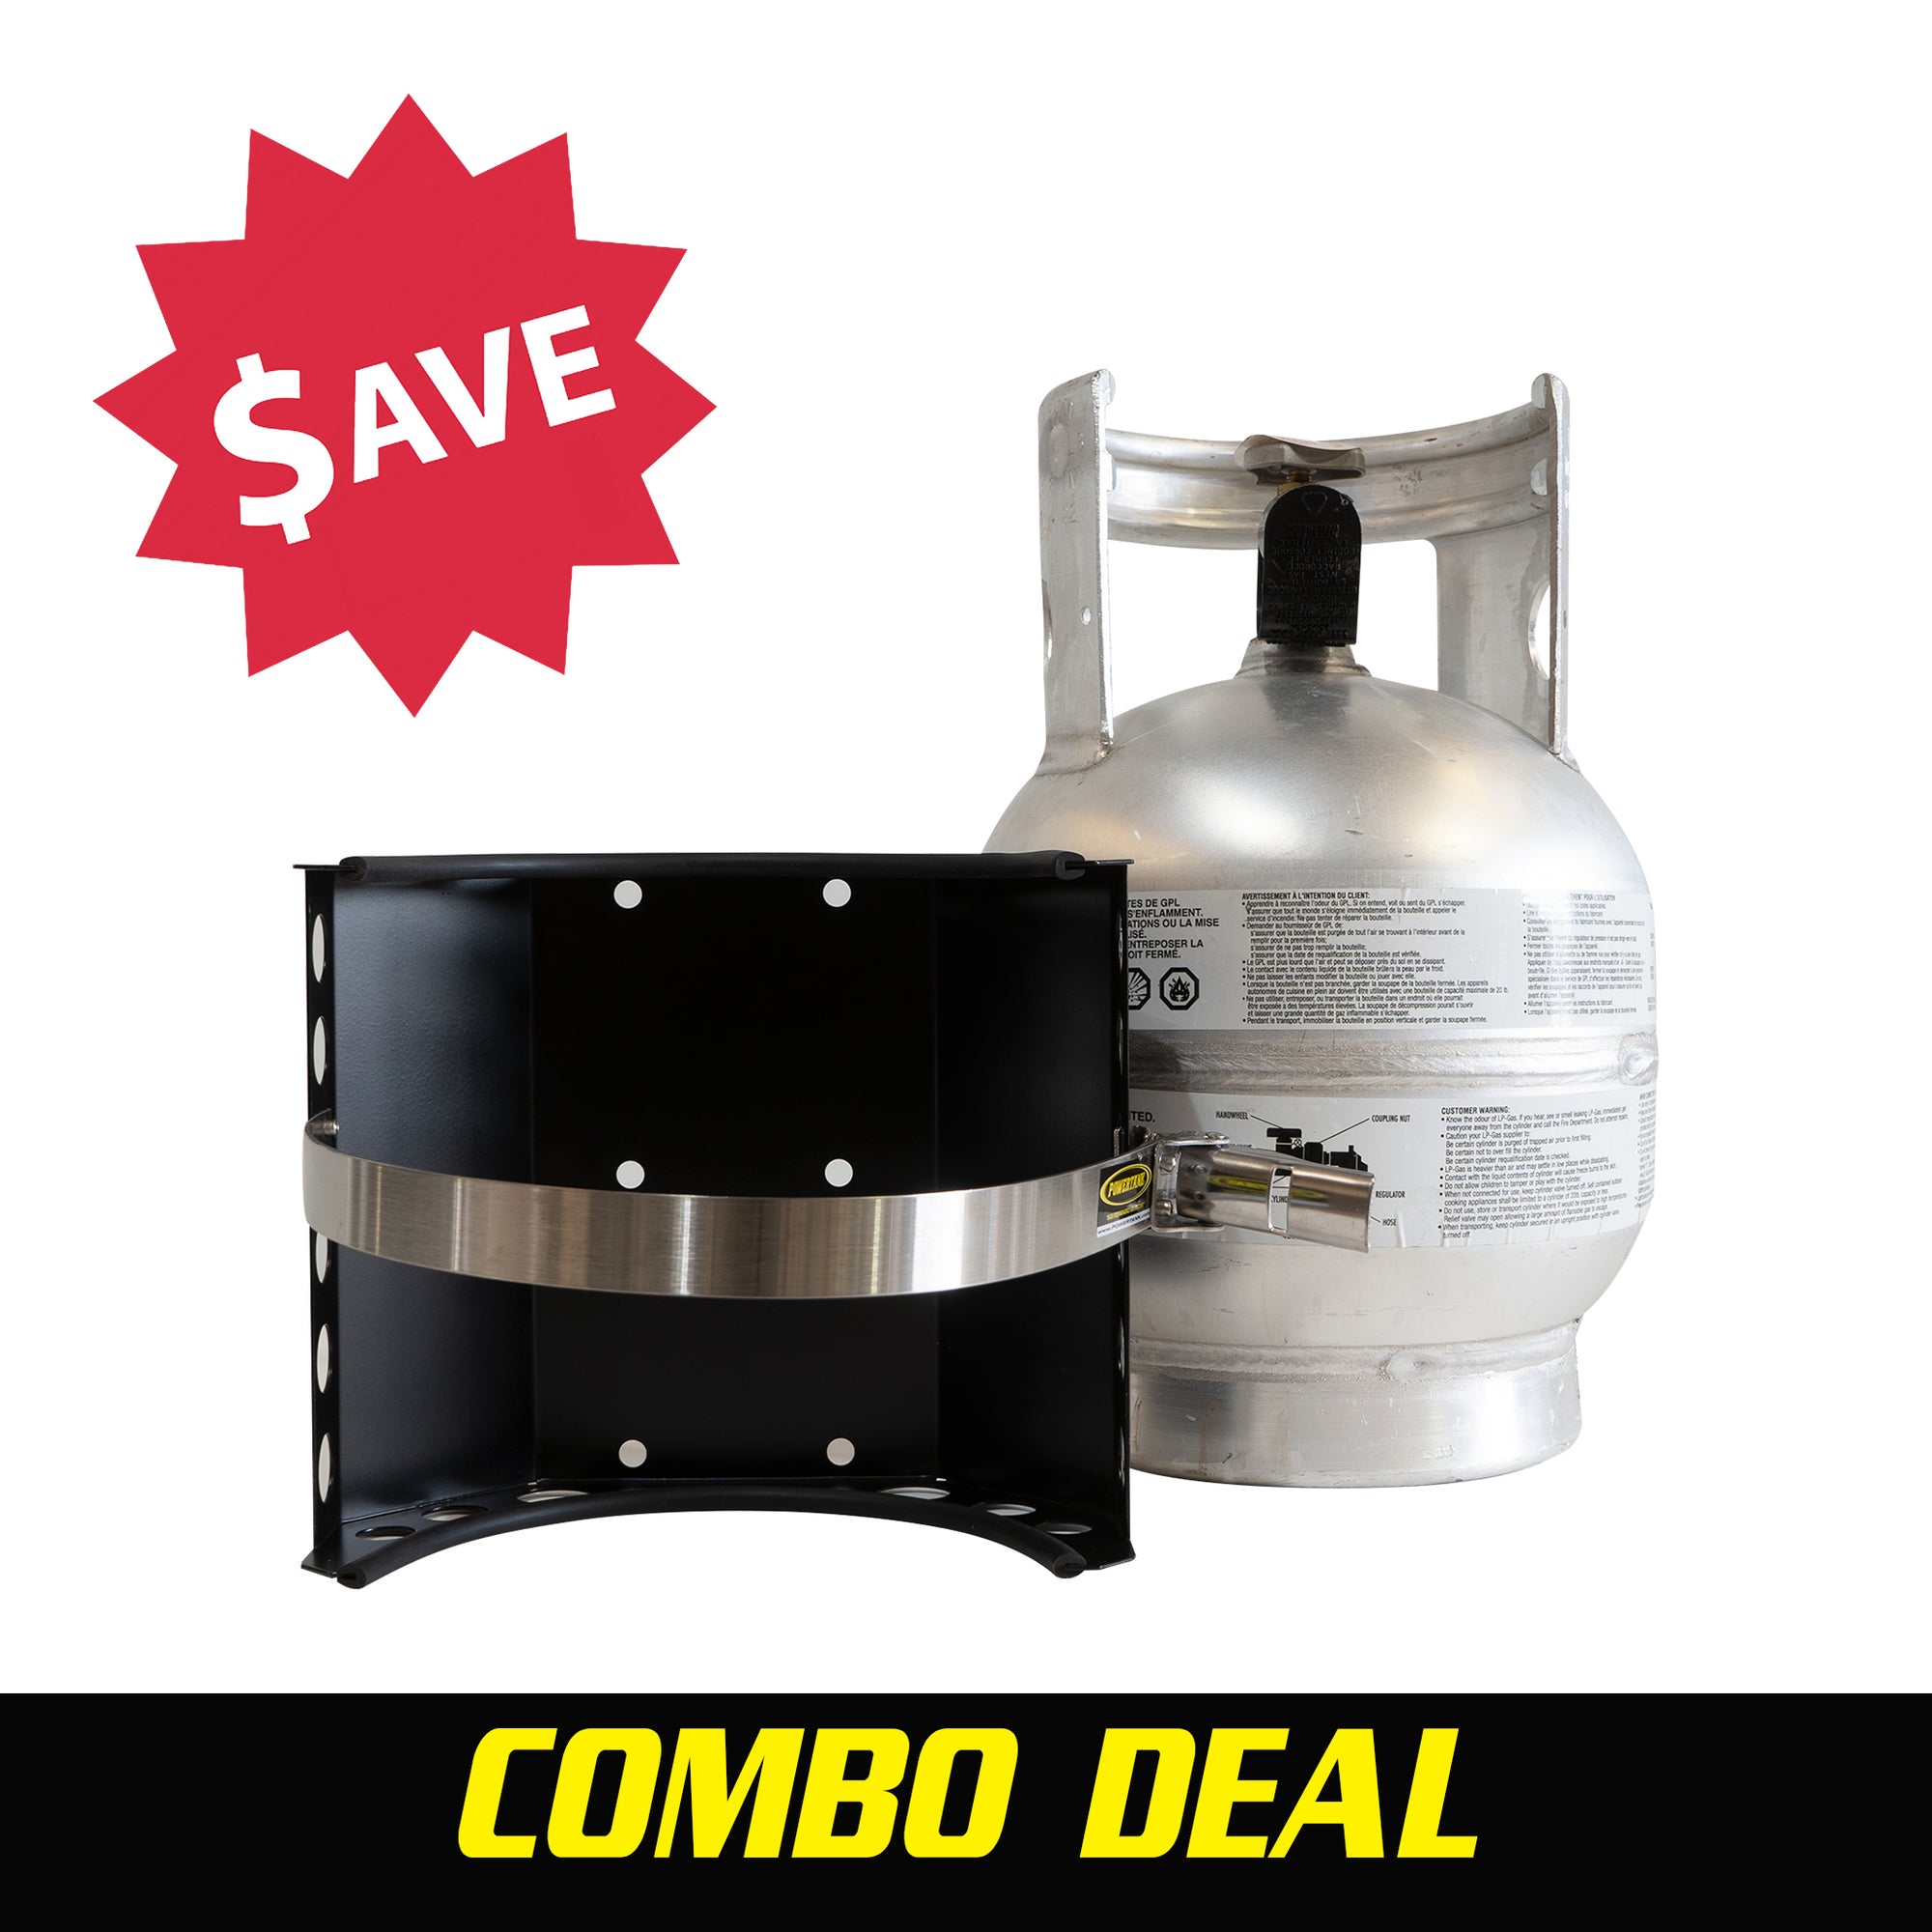
Credit: powertank.com
Choosing The Right Propane Holder
Choosing the right propane holder is key to a safe and efficient prep table setup. It affects stability, safety, and ease of use. The right choice fits your table and propane tank perfectly. It also holds up well during use. Understanding different types, sizes, and materials can help you pick the best holder. This section covers what to consider before attaching your propane holder.
Types Of Propane Holders
Propane holders come in several designs. Some mount directly under the prep table. Others attach to the side or fit inside a cabinet. The common types include:
- Bracket holders that clamp onto the table frame.
- Basket holders that sit under the table surface.
- Enclosed holders that offer extra protection.
Choose a type that matches your prep table’s design and space.
Size And Compatibility
Propane holders must fit the tank size exactly. Too large or too small holders can cause instability. Most holders fit standard 20-pound propane tanks. Check the tank’s height and diameter before buying a holder.
Also, check the mounting points on the prep table. Some holders need specific screw placements or brackets. Confirm compatibility to avoid installation problems later.
Material And Durability
Material affects the holder’s strength and weather resistance. Common materials include steel, aluminum, and heavy-duty plastic. Steel holders offer strong support and last longer outdoors. Aluminum is lightweight and rust-resistant. Plastic holders are cheaper but less durable.
Pick a material that matches your cooking environment. Outdoor setups need rust-resistant materials. Indoor setups can use lighter materials for easy handling.
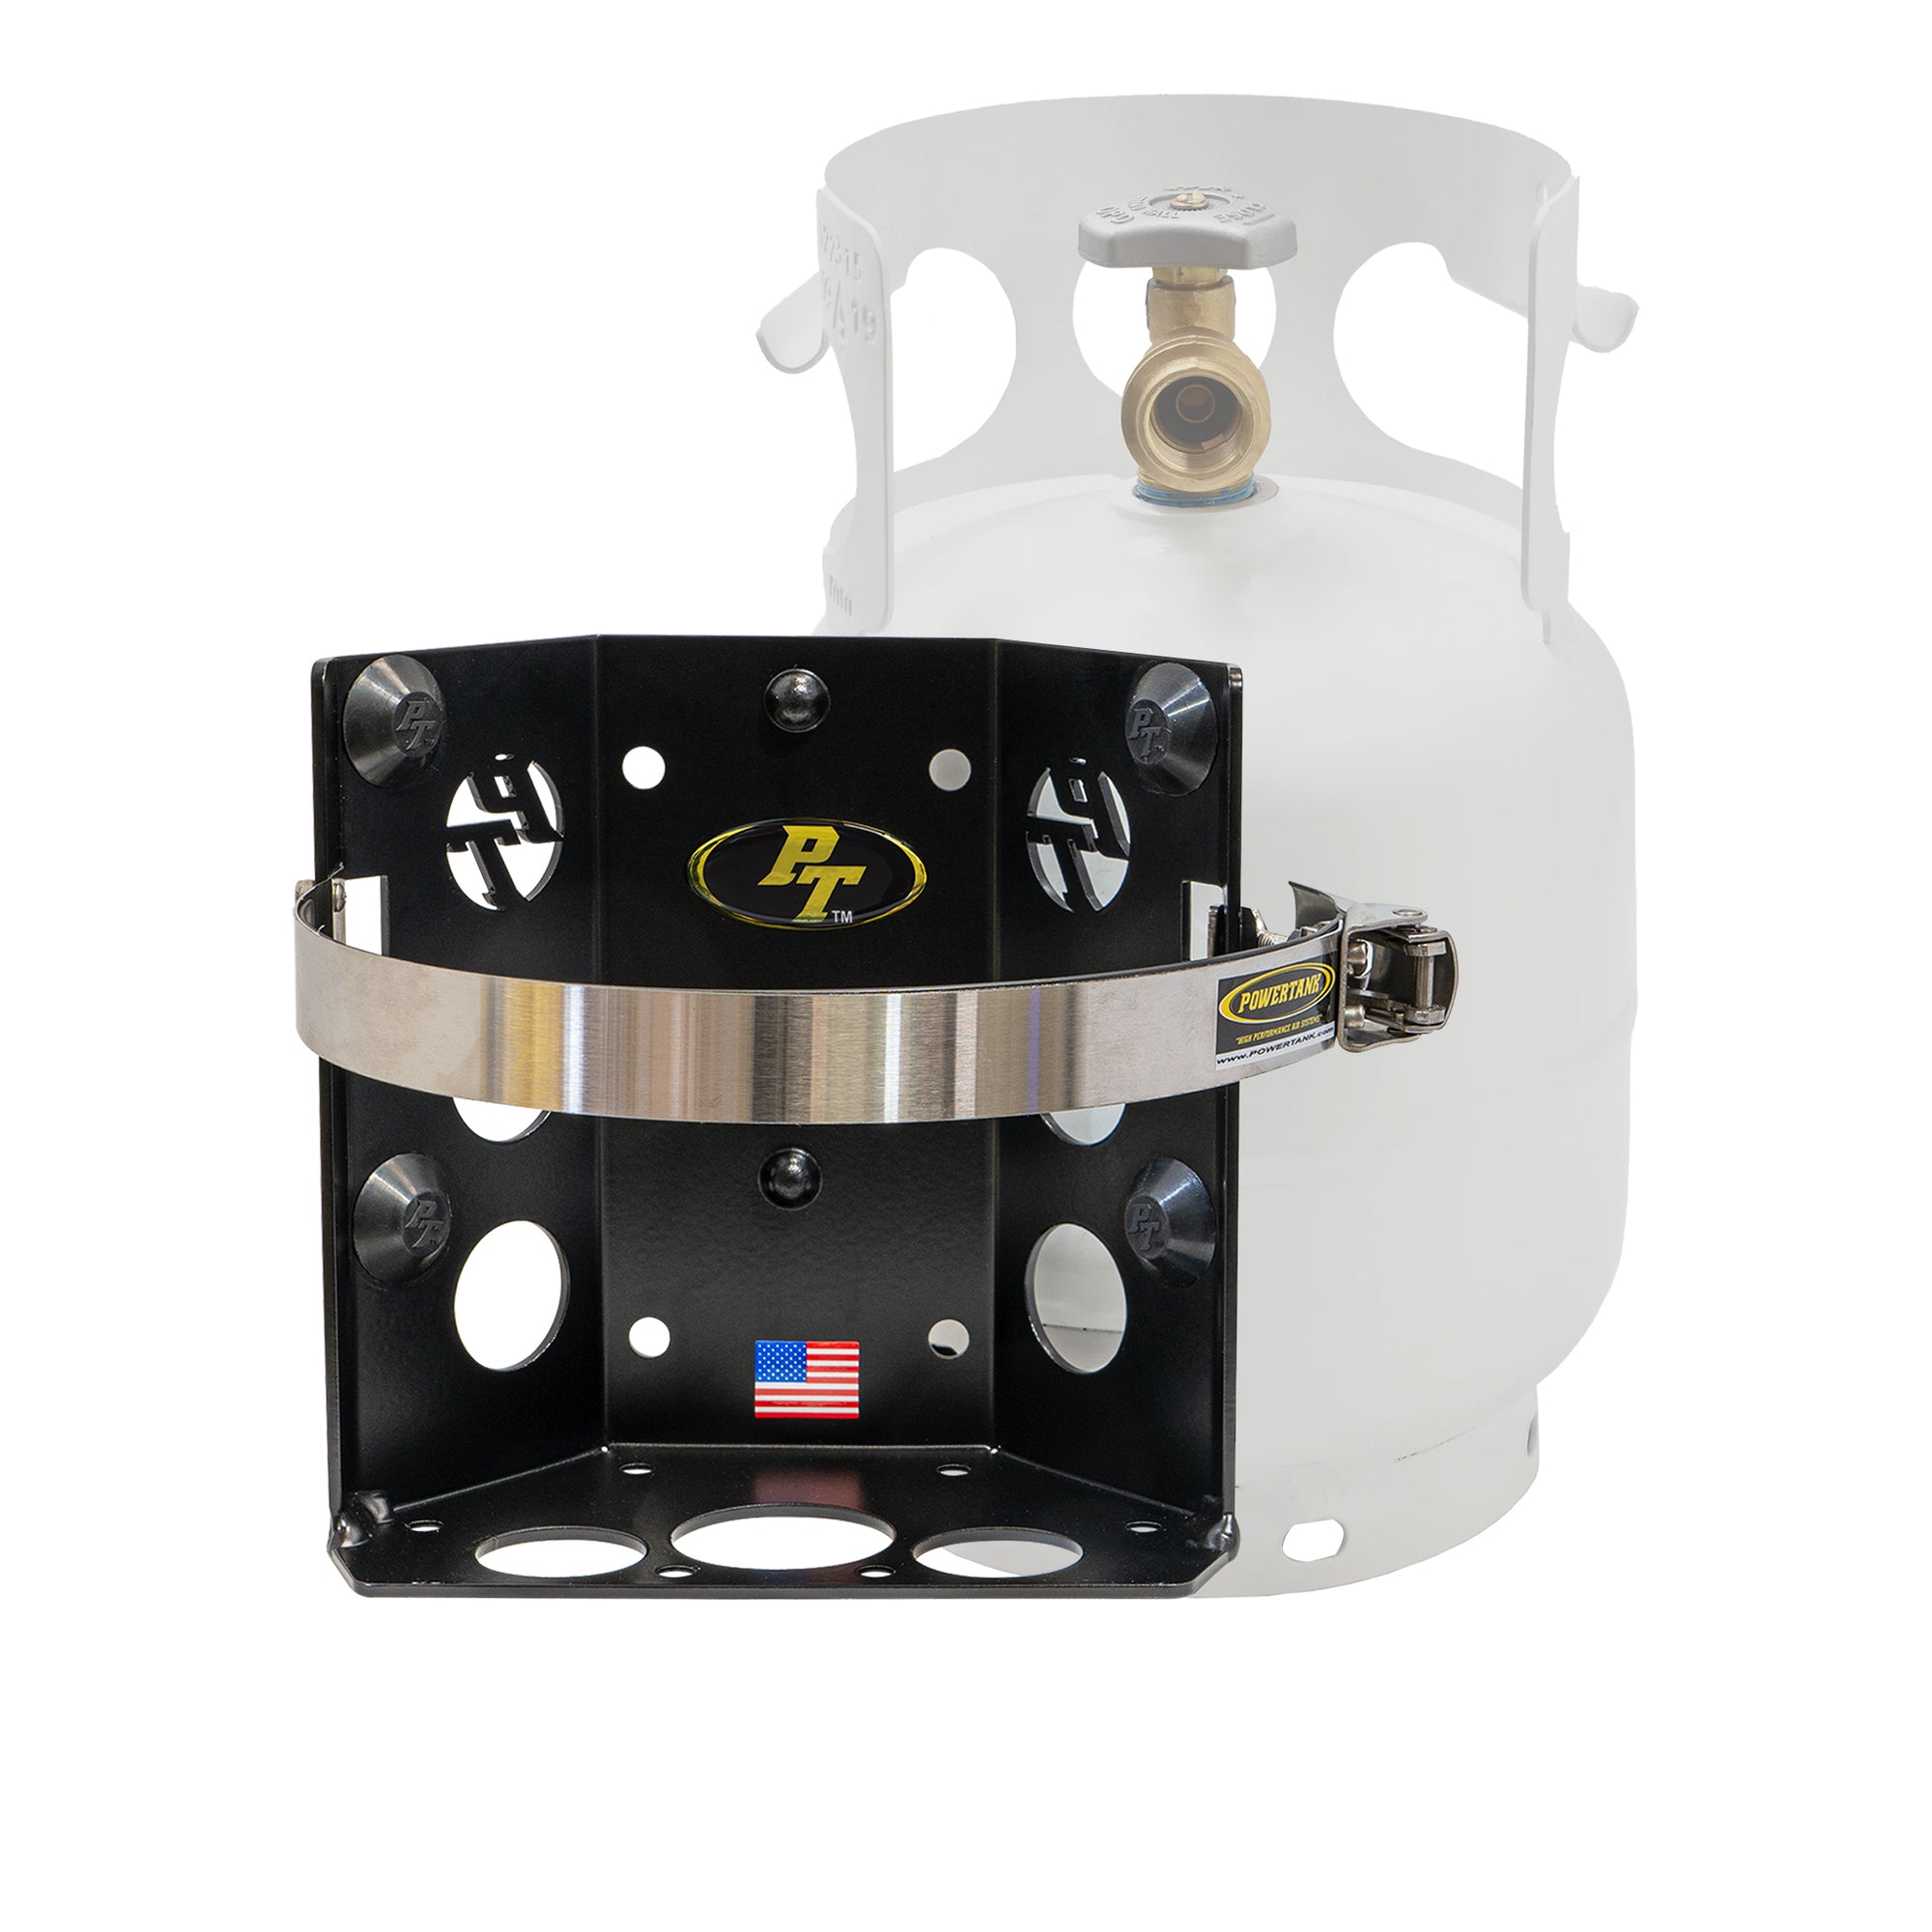
Credit: powertank.com
Preparing The Prep Table
Preparing your prep table correctly is the foundation for a smooth and safe propane holder installation. It’s not just about picking a spot and attaching the holder; you need to think through the location, ensure the area is spotless, and have all the right tools ready. Taking the time to prepare properly can save you from headaches later on and even prevent accidents.
Selecting The Attachment Spot
Choose a spot on your prep table that is sturdy and easily accessible. You want the propane holder to be close enough for convenience but not in a place where it might get knocked or interfere with your workspace. Look for a flat surface free from curves or gaps—this makes attaching the holder much easier and more secure.
Think about where you usually stand while prepping and how often you’ll need to reach for the propane. Is there enough clearance around the spot for safety and ease of use? Sometimes the best spot isn’t the most obvious one.
Cleaning And Clearing The Area
Before you start attaching anything, thoroughly clean the chosen area. Remove any grease, dust, or debris that could weaken the attachment or cause slipping. A clean surface ensures better adhesion if you’re using adhesives or a tight fit with screws.
Clear the area of any items or tools that might get in the way or be damaged during installation. Taking a few extra minutes here makes your work faster and safer. Have you ever tried fixing something only to realize later that dirt was the real problem? Avoid that frustration by starting fresh.
Gathering Necessary Tools
Collect all the tools you’ll need before beginning the attachment process. Common tools include a drill, screws, a screwdriver, a measuring tape, and a level. Having everything within reach means you won’t have to stop midway, which breaks your focus and slows you down.
Check the propane holder’s instructions for any special tools or hardware required. It’s surprising how often missing one small tool can delay a project. Do you have a dedicated toolbox for outdoor kitchen projects? If not, now’s a great time to start one—it saves time and stress in the long run.
Attaching The Propane Holder
Attaching the propane holder to your prep table is a straightforward task that greatly improves your workspace efficiency and safety. The key is to ensure it’s positioned securely and correctly, so the propane tank stays stable during use. Let’s walk through the essential steps to get your propane holder firmly attached and ready for action.
Positioning The Holder
Start by deciding where on the prep table you want to attach the propane holder. Choose a spot that is easily accessible but won’t interfere with your workspace or movement. Think about the size of your propane tank and allow enough clearance around it to prevent any accidental bumps.
Consider the height too—placing the holder too low can make connecting the propane hose awkward. If you’re unsure, try holding the tank in different positions to see what feels natural.
Marking Drill Points
Once you have the perfect spot, place the propane holder on the table and use a pencil to mark where the screws will go. Take your time to mark these points accurately; even small misalignments can make securing the holder difficult.
Double-check that the marks are level and spaced according to the holder’s mounting holes. Using a ruler or level can help ensure everything is straight before moving on.
Drilling And Securing Screws
Next, drill pilot holes at the marked points to make screwing easier and to avoid splitting the wood. Use a drill bit slightly smaller than your screws for the best grip.
After drilling, align the holder with the holes and secure it with screws, tightening them firmly but not so much that you damage the table. Check the holder’s stability by giving it a gentle shake—if it feels loose, tighten the screws a bit more.
Have you noticed how a solid propane holder changes the whole cooking setup? It’s a small step that brings peace of mind and smoother prep sessions.
Safety Checks After Installation
Safety checks after attaching your propane holder to the prep table are crucial. These checks protect you and others from accidents. Taking time to inspect your setup ensures smooth and safe operation.
Ensuring Stable Attachment
Check the propane holder for firm attachment to the prep table. Wiggle the holder gently to test stability. Tighten all screws and bolts securely. Use a wrench if needed to avoid loose fittings. A stable holder prevents tipping or falling during use.
Checking For Gas Leaks
Inspect all connections between the propane tank and holder for leaks. Mix soap and water in a spray bottle. Spray the solution on all joints and valves. Look for bubbles forming, which indicate leaks. Do not use a flame to check for leaks. Fix any leaks before using the propane system.
Proper Ventilation Considerations
Place your prep table and propane holder in a well-ventilated area. Ensure fresh air flows freely around the setup. Avoid enclosed or tight spaces to reduce gas buildup risk. Keep windows or doors open during use. Good ventilation helps prevent dangerous gas accumulation.
Maintenance Tips For Longevity
Maintaining your propane holder attached to the prep table is key to its long life. Regular care prevents damage and keeps it safe to use. A few simple steps help avoid costly repairs and replacements. Follow these tips to keep your setup in great shape.
Regular Cleaning
Clean the propane holder often to remove dirt and grease. Use a mild soap and warm water. Avoid harsh chemicals that can damage surfaces. Wipe all parts dry to stop rust. Clean connections to ensure proper gas flow and safety.
Inspecting For Wear And Tear
Look over the propane holder regularly. Check for cracks, rust, or loose bolts. Tighten any screws or fittings that are loose. Replace worn parts right away to prevent leaks. Keep an eye on hoses for cracks or brittleness.
Seasonal Storage Advice
Store the propane holder indoors during cold or wet seasons. Disconnect the propane tank and cover the holder. Keep it in a dry, ventilated area to avoid rust. Before use, inspect and clean it again for safe operation.

Credit: backlandgear.com
Frequently Asked Questions
How Do I Securely Attach A Propane Holder?
To securely attach a propane holder, ensure you use sturdy brackets or clamps. Follow manufacturer instructions for specific attachment points. Tighten all screws and bolts properly to prevent movement. Regularly check for any wear or looseness to maintain safety.
What Tools Are Needed For Installation?
You’ll need a drill, screwdriver, and adjustable wrench for the installation. These tools will help you securely attach the holder. Ensure you have the appropriate screws and bolts. Always use the recommended tools and hardware for the best results.
Can I Attach A Propane Holder To Any Prep Table?
Not all prep tables are suitable for a propane holder. Check the table’s weight capacity and material. Ensure it can handle the additional weight. If in doubt, consult the table’s manufacturer for compatibility. Always prioritize safety and stability.
Is Professional Installation Recommended?
Professional installation is recommended if you’re unsure about the process. They ensure safety and proper attachment. This is especially important if you lack the necessary tools or experience. Peace of mind is worth the cost. Prioritize safety and functionality.
Conclusion
Attaching a propane holder to your prep table makes cooking easier. Follow the steps carefully for a safe, steady setup. Tighten all screws firmly to keep the holder secure. Check the holder regularly to avoid any accidents. This simple task saves space and keeps your propane handy.
Now, you can focus more on cooking and less on searching for your tank. Enjoy a cleaner, more organized cooking area every time you grill.