
You rely on your meat thermometer to cook your food perfectly every time. But what if it’s not giving you the right temperature?
Without proper calibration, your thermometer could lead to undercooked or overcooked meals. Calibrating your meat thermometer is easier than you think, and it makes a huge difference in your cooking results. In this guide, you’ll learn simple steps to check and adjust your thermometer so you can cook with confidence and enjoy safe, delicious meals every time.
Keep reading to master this essential kitchen skill!
Why Calibration Matters
Calibrating a meat thermometerensures it shows the correct temperature. This is vital for food safety. If the thermometer is off, meat might be undercooked. Undercooked meat can carry harmful bacteriacausing illness.
Accurate readings help cook meat to the right doneness. This keeps food tasty and safe. Calibration avoids guesswork in cooking times and temperatures.
- Prevent food poisoningby cooking meat fully.
- Improve cooking resultswith precise temperature readings.
- Save moneyby avoiding overcooking and waste.
- Gain confidencein your cooking skills.
Credit: sts-calibration.com
Types Of Meat Thermometers
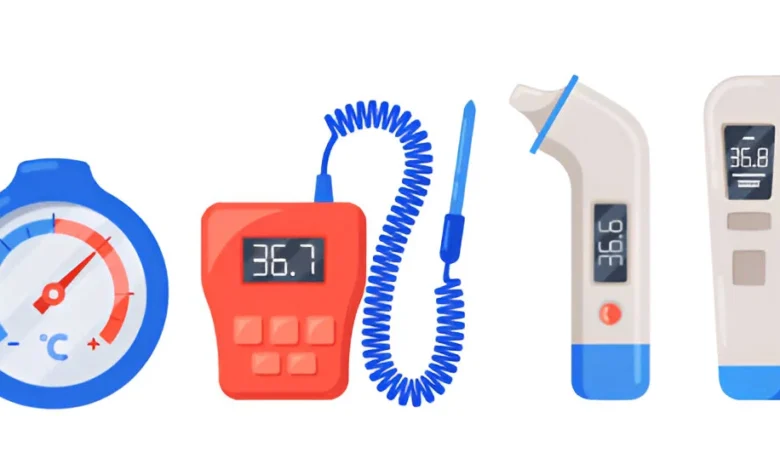
Digital thermometersshow temperature on a screen. They give quick and clear readings. These thermometers often have a probe that you insert into meat. They are easy to read, even in low light. Many models beep when the meat reaches the right temperature. Batteries power these thermometers, so check them often. Some digital thermometers have extra features like timers or alarms.
Dial thermometershave a round face with a needle. The needle points to the temperature. These use a metal probe that you put into the meat. Dial thermometers do not need batteries. They are simple and durable. But they take longer to show the temperature. The needle can be hard to read in dim light.
Tools Needed For Calibration
To calibrate a meat thermometer, two simple tools are needed: ice waterand boiling water. These help check the thermometer’s accuracy at key temperatures.
For the ice water method, fill a glass with crushed ice and cold water. Stir well and insert the thermometer probe into the ice water. Wait for the reading to stabilize. The thermometer should read 32°F (0°C). If not, adjust the thermometer according to its instructions.
For the boiling water method, boil fresh water in a pot. Insert the thermometer probe into the boiling water without touching the pot. The thermometer should read 212°F (100°C)at sea level. If it doesn’t, recalibrate or note the temperature difference.

Credit: www.marketmanila.com
Step-by-step Calibration Process
Fill a glass with crushed ice and cold water. Stir well and let it sit for about 3 minutes. Insert the meat thermometer’s tip into the ice water. Make sure it does not touch the glass sides or bottom. Wait for the temperature to stabilize. It should read 32°F (0°C). If not, adjust the thermometer according to the manufacturer’s instructions.
Boil water in a pot or kettle. Once boiling, carefully insert the thermometer’s tip into the water. Avoid touching the pot’s sides or bottom. The thermometer should show 212°F (100°C)at sea level. If the reading is off, adjust the thermometer. Remember, boiling point changes with altitude, so check local boiling temperature if needed.
Common Calibration Issues
Inaccurate readingsoften happen due to poor thermometer calibration. This can cause undercooked or overcooked meat. Common reasons include damaged sensors, battery issues, and dirt on the probe. Dirt blocks heat, causing false readings. Always check the thermometer before use.
- Clean the probeafter each use with warm soapy water.
- Store the thermometerin a dry, safe place.
- Replace batterieswhen the display dims or shows errors.
- Test calibrationregularly using ice water or boiling water.
- Avoid droppingor rough handling of the device.
Tips For Accurate Temperature Reading
Insert the meat thermometer into the thickest part of the meat. Avoid touching bone, fat, or gristle. These parts can give wrong temperature readings. Hold the thermometer steady until the reading stops changing. This ensures the temperature is accurate.
- Push the thermometer deeply enough, usually at least 2 inches.
- Place it away from the edges where heat escapes.
- Clean the probe before and after use to avoid contamination.
Common mistakes can affect accuracy. Do not insert the thermometer too shallow or near bones. Avoid leaving the thermometer in the oven for too long. Some thermometers take time to adjust, so wait for a stable number. Calibrate your thermometer regularly for the best results.

Credit: www.goodhousekeeping.com
Frequently Asked Questions
How Do I Calibrate A Meat Thermometer At Home?
To calibrate, boil water and insert the thermometer. It should read 212°F (100°C). Adjust if needed for accuracy.
Why Is Calibrating A Meat Thermometer Important?
Calibration ensures accurate temperature readings. It prevents undercooked or overcooked meat, improving food safety and taste.
How Often Should I Calibrate My Meat Thermometer?
Calibrate your thermometer monthly or after dropping it. Regular checks maintain reliable temperature accuracy.
Can I Calibrate Digital And Analog Thermometers The Same Way?
Yes, both types use the boiling water method. Adjust digital settings or twist analog dials to calibrate.
Conclusion
Calibrating a meat thermometer ensures accurate readings. Accurate readings mean perfectly cooked meat. Follow the steps outlined to calibrate effectively. Regular calibration maintains thermometer accuracy. Check it before big cooking events. This practice keeps food safe and delicious. Enjoy meals without worry.
Proper calibration is quick and easy. It adds confidence to your cooking. No need for guesswork. Invest a few minutes for safety. Your taste buds will thank you. Cook with precision. Consistently. Make it a habit today.